
Image Segmentation#
The image segmentation module allows researchers to quickly identify cells or nuclei by selecting pre-trained segmentation models. Users can choose a model from the available options and apply it to images that are opened and selected in Piximi for inference.
1. Load images#
To begin, we will load the images from an example dataset included in Piximi. On the start screen, click Open Example Project, switch to the Image and Object Sets tab and select U2OS cell-painting experiment. If you already have a project open, you can reach the same list through 
Open > Project > Load Example. Alternatively, if you would like to load your own images, go to Open > Image.
The images correspond to U2OS cells treated with an RNAi reagent (clone TRCN0000195467) and stained for a cell-painting experiment. The project contains a single image, and already includes two kinds of objects (Cell membrane and Cell nucleus) that you can look at in the Annotations view.
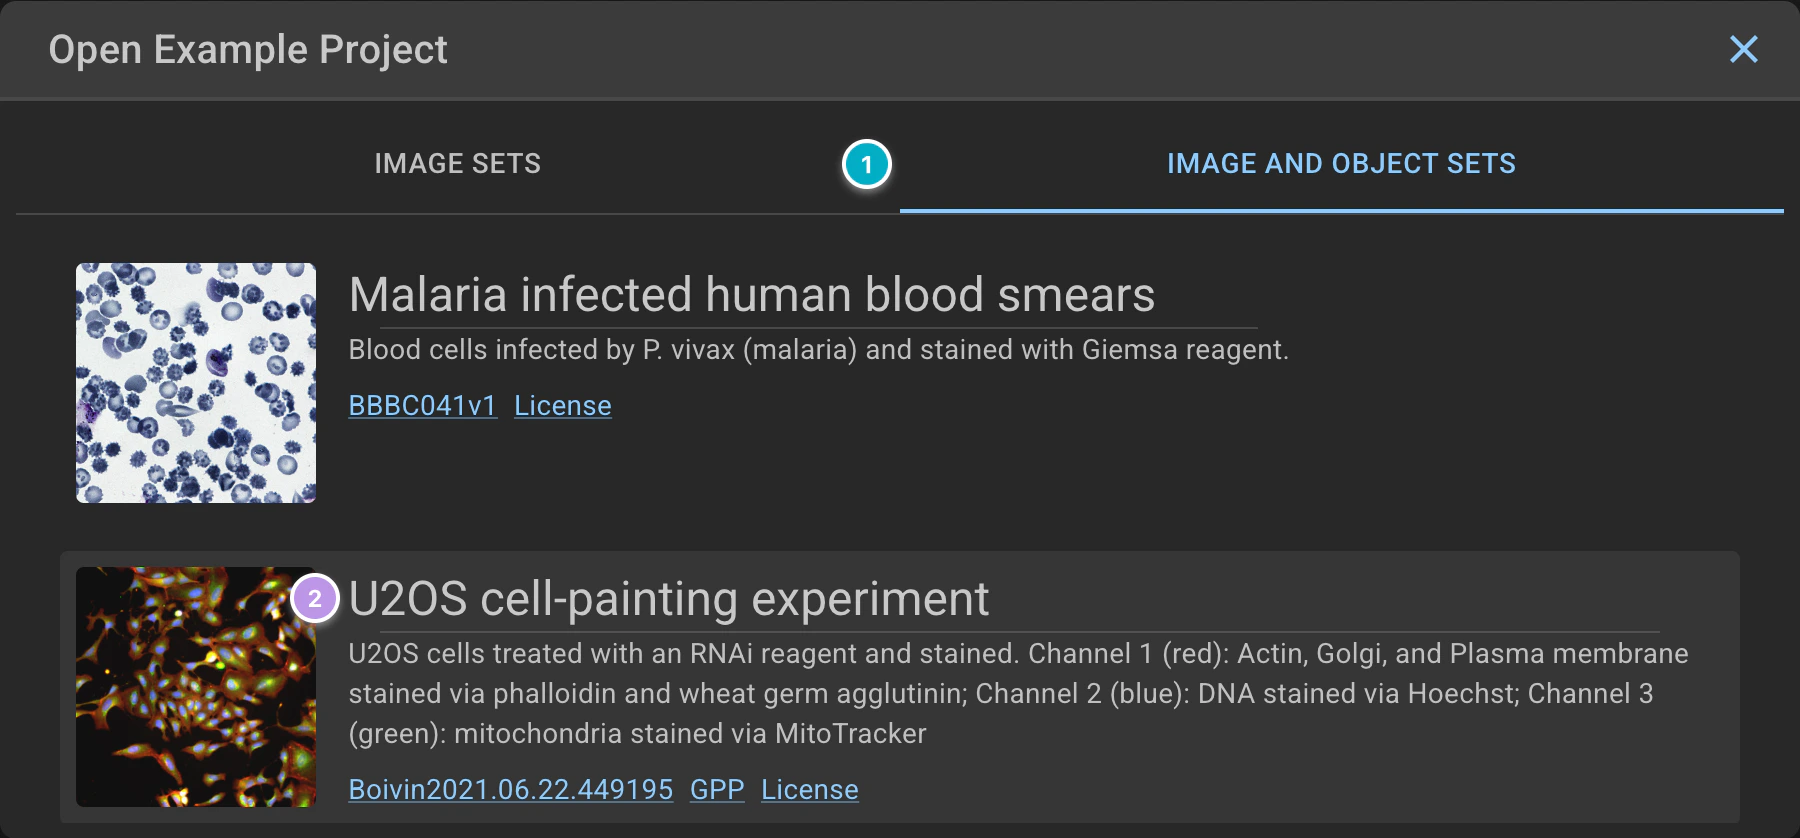
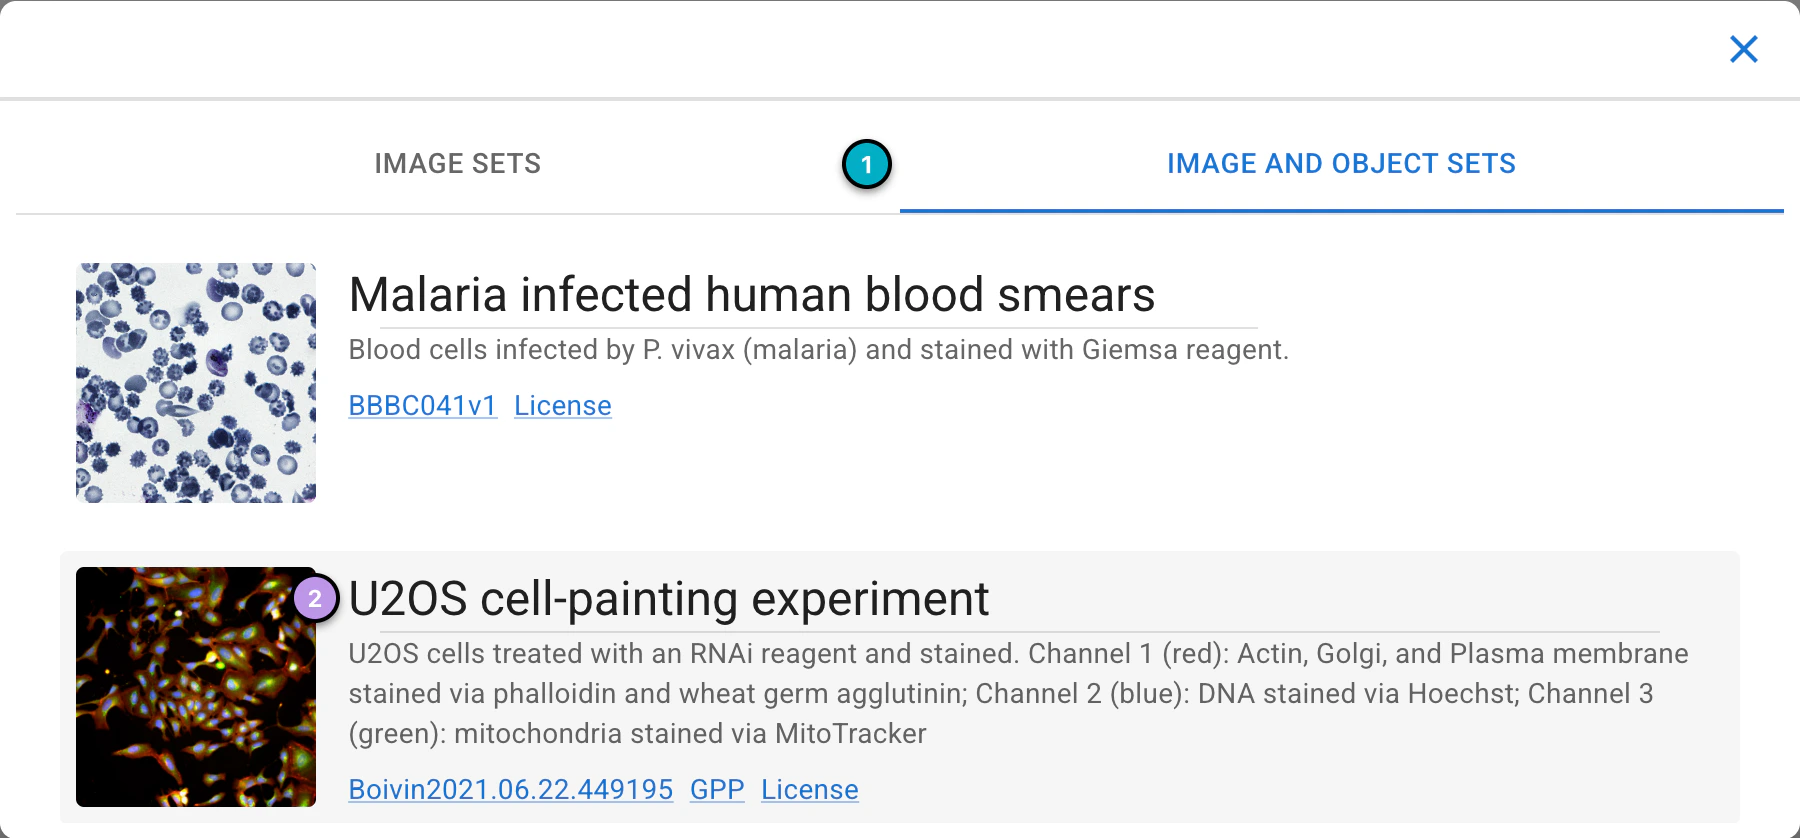
Open the U2OS cell-painting example project from the Image and Object Sets tab
2. Load Models#
Piximi provides five pre-trained segmentation models, each designed for specific segmentation tasks:
Cellpose-SAM: A generalist algorithm for segmenting cells and nuclei, which runs in your browser using WebGPU
StardistFluo: Trained on fluorescence images, ideal for identifying nuclei with star-convex shapes
StardistVHE: To identify nuclei in hematoxylin and eosin (H&E) stained images
COCO-SSD: To identify objects in “natural images” (or photographs) of 80 different classes (such as humans and kites) using the COCO format
GlandSegmentation: To segment intestinal glands, trained on the Gland Segmentation in Colon Histology Images Challenge Contest (GlaS)
In the Learning Task section on the left-hand side, click the Segmentation button to switch from classification to segmentation.
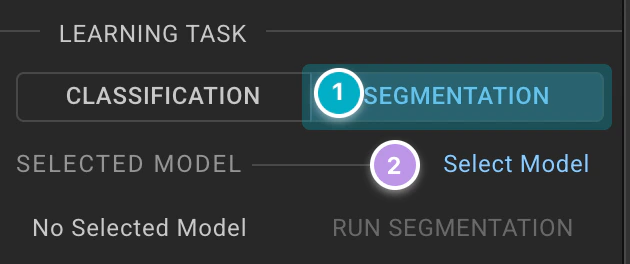
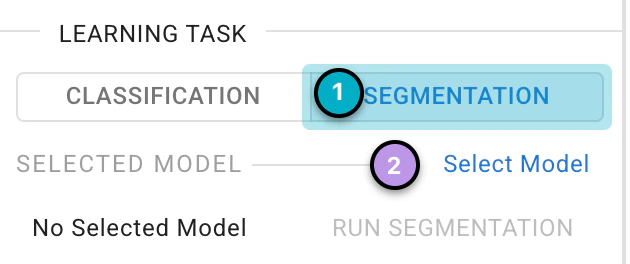
Switch the Learning Task to segmentation, then choose a model
Then click Select Model to open the Load Segmentation Model dialog.
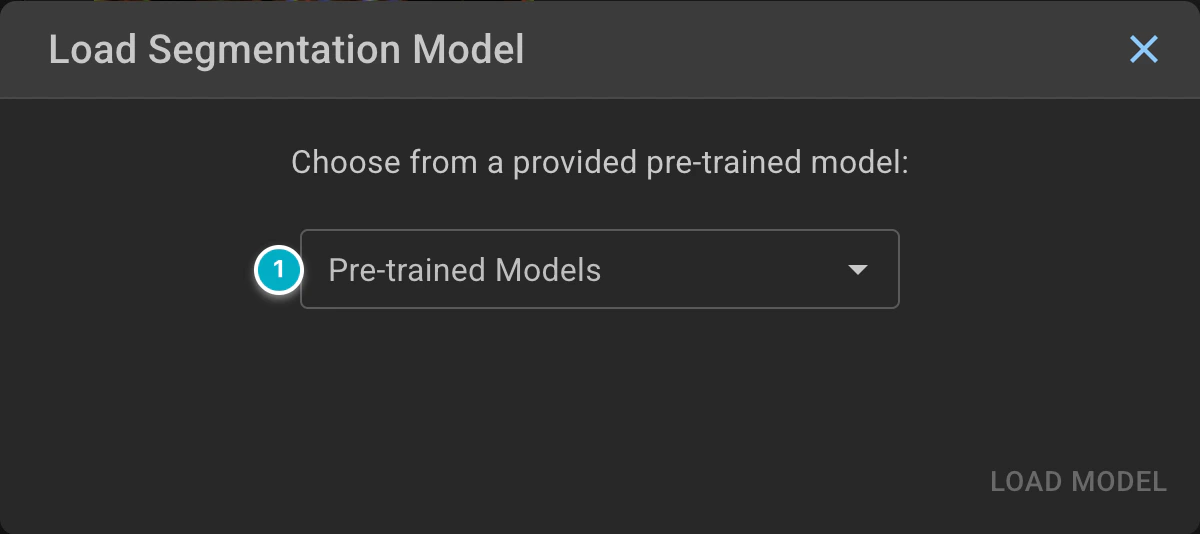
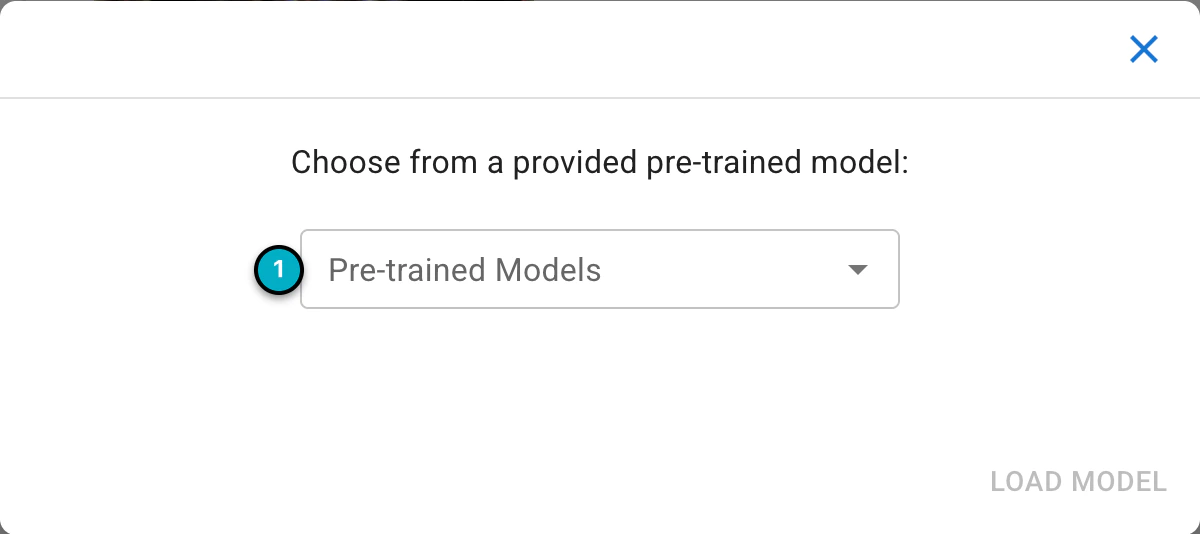
The model selection dialog
Open the Pre-trained Models list to see the available models. In this example, we will use Cellpose-SAM.
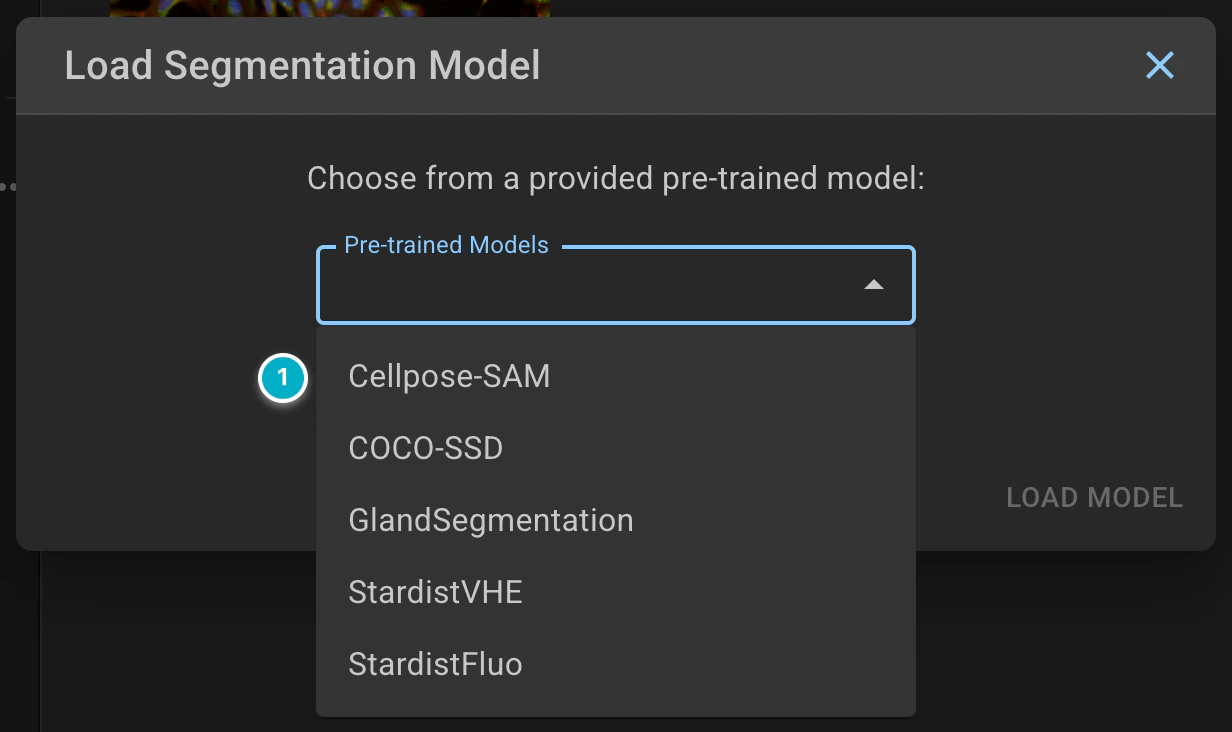
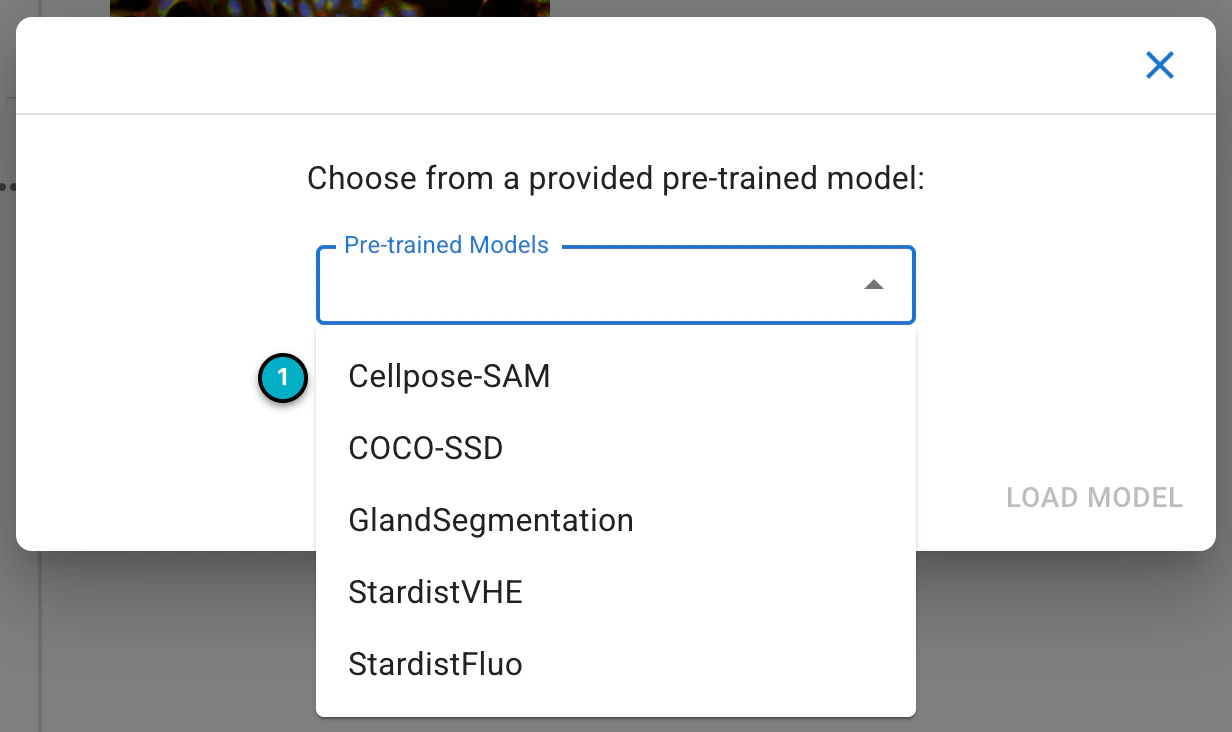
The pre-trained models
Once a model is chosen, the dialog describes what it is for and where it comes from. Click Load Model to load it.
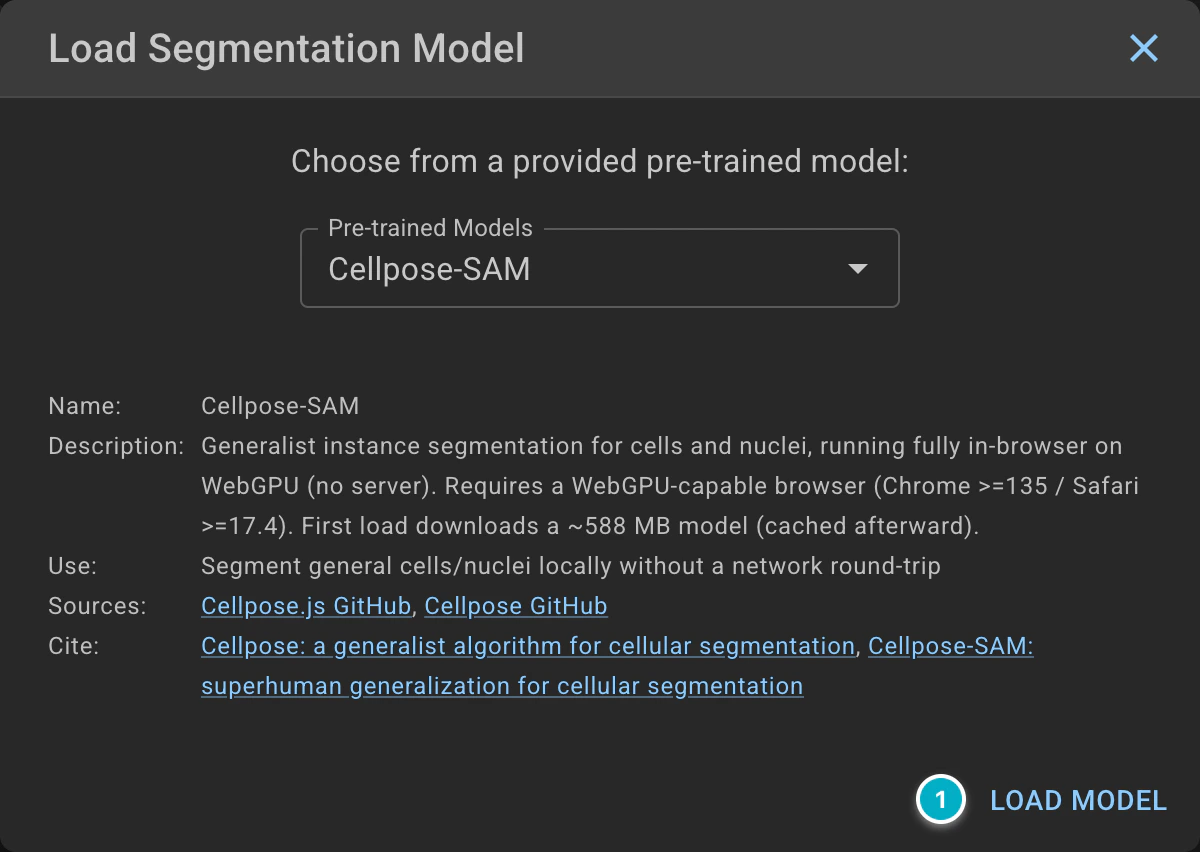
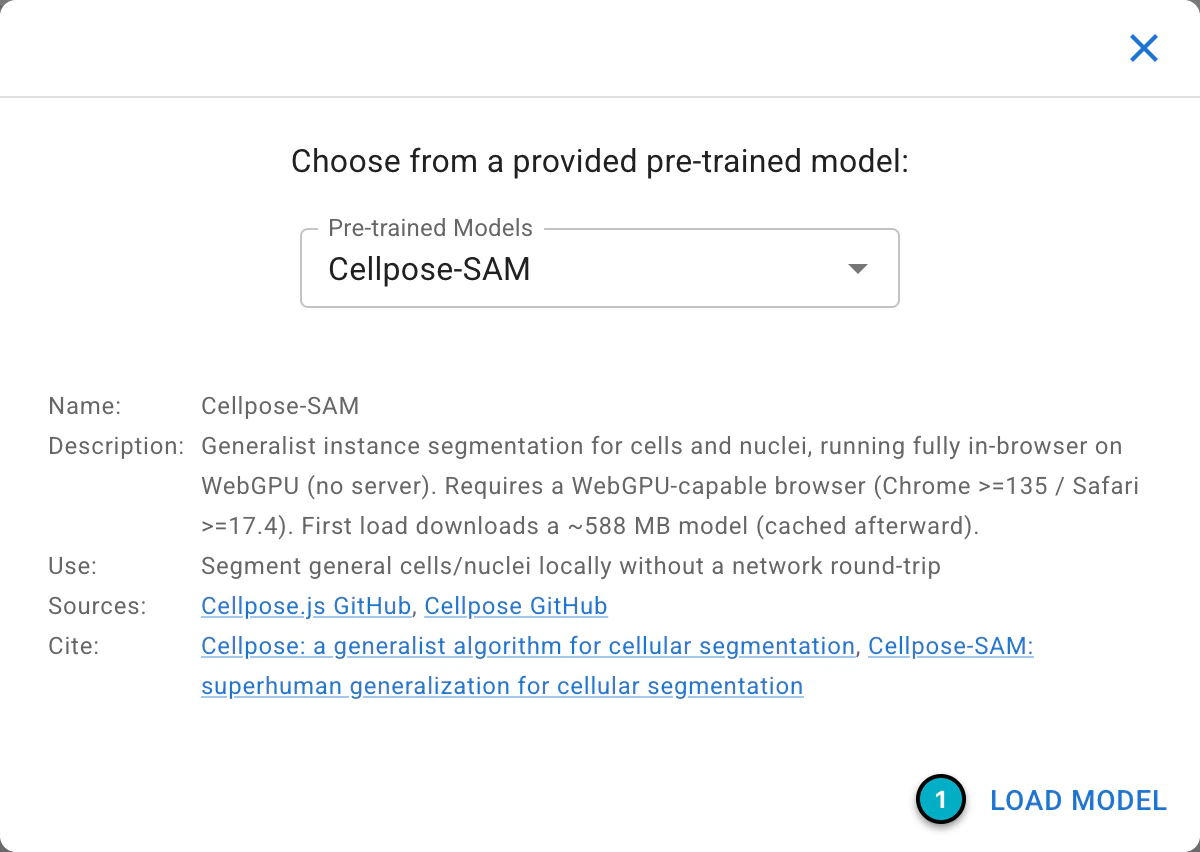
Details of the selected model
Note
All Piximi segmentation models, including Cellpose-SAM and StarDist, run in your own browser, and your data never leaves your machine. The model files are downloaded the first time a model is loaded. Cellpose-SAM is about 588 MB and needs a browser that supports WebGPU (for example a recent version of Chrome or Safari).
3. Run the model#
Once the model is loaded, the Learning Task section shows its settings. Piximi segments the images that are currently selected, or every image if none is selected, so click the image in the grid to select it.
The Output kind name is the name of the new kind that will hold the segmented objects. For Cellpose-SAM it is cellpose_cells by default, and you can rename it with the pencil icon next to it. The other settings are described in the Segmentation section of the Project Viewer.
Click Run Segmentation to run the model on the selected image. Piximi shows the progress of the segmentation while it runs, which can take a little while.
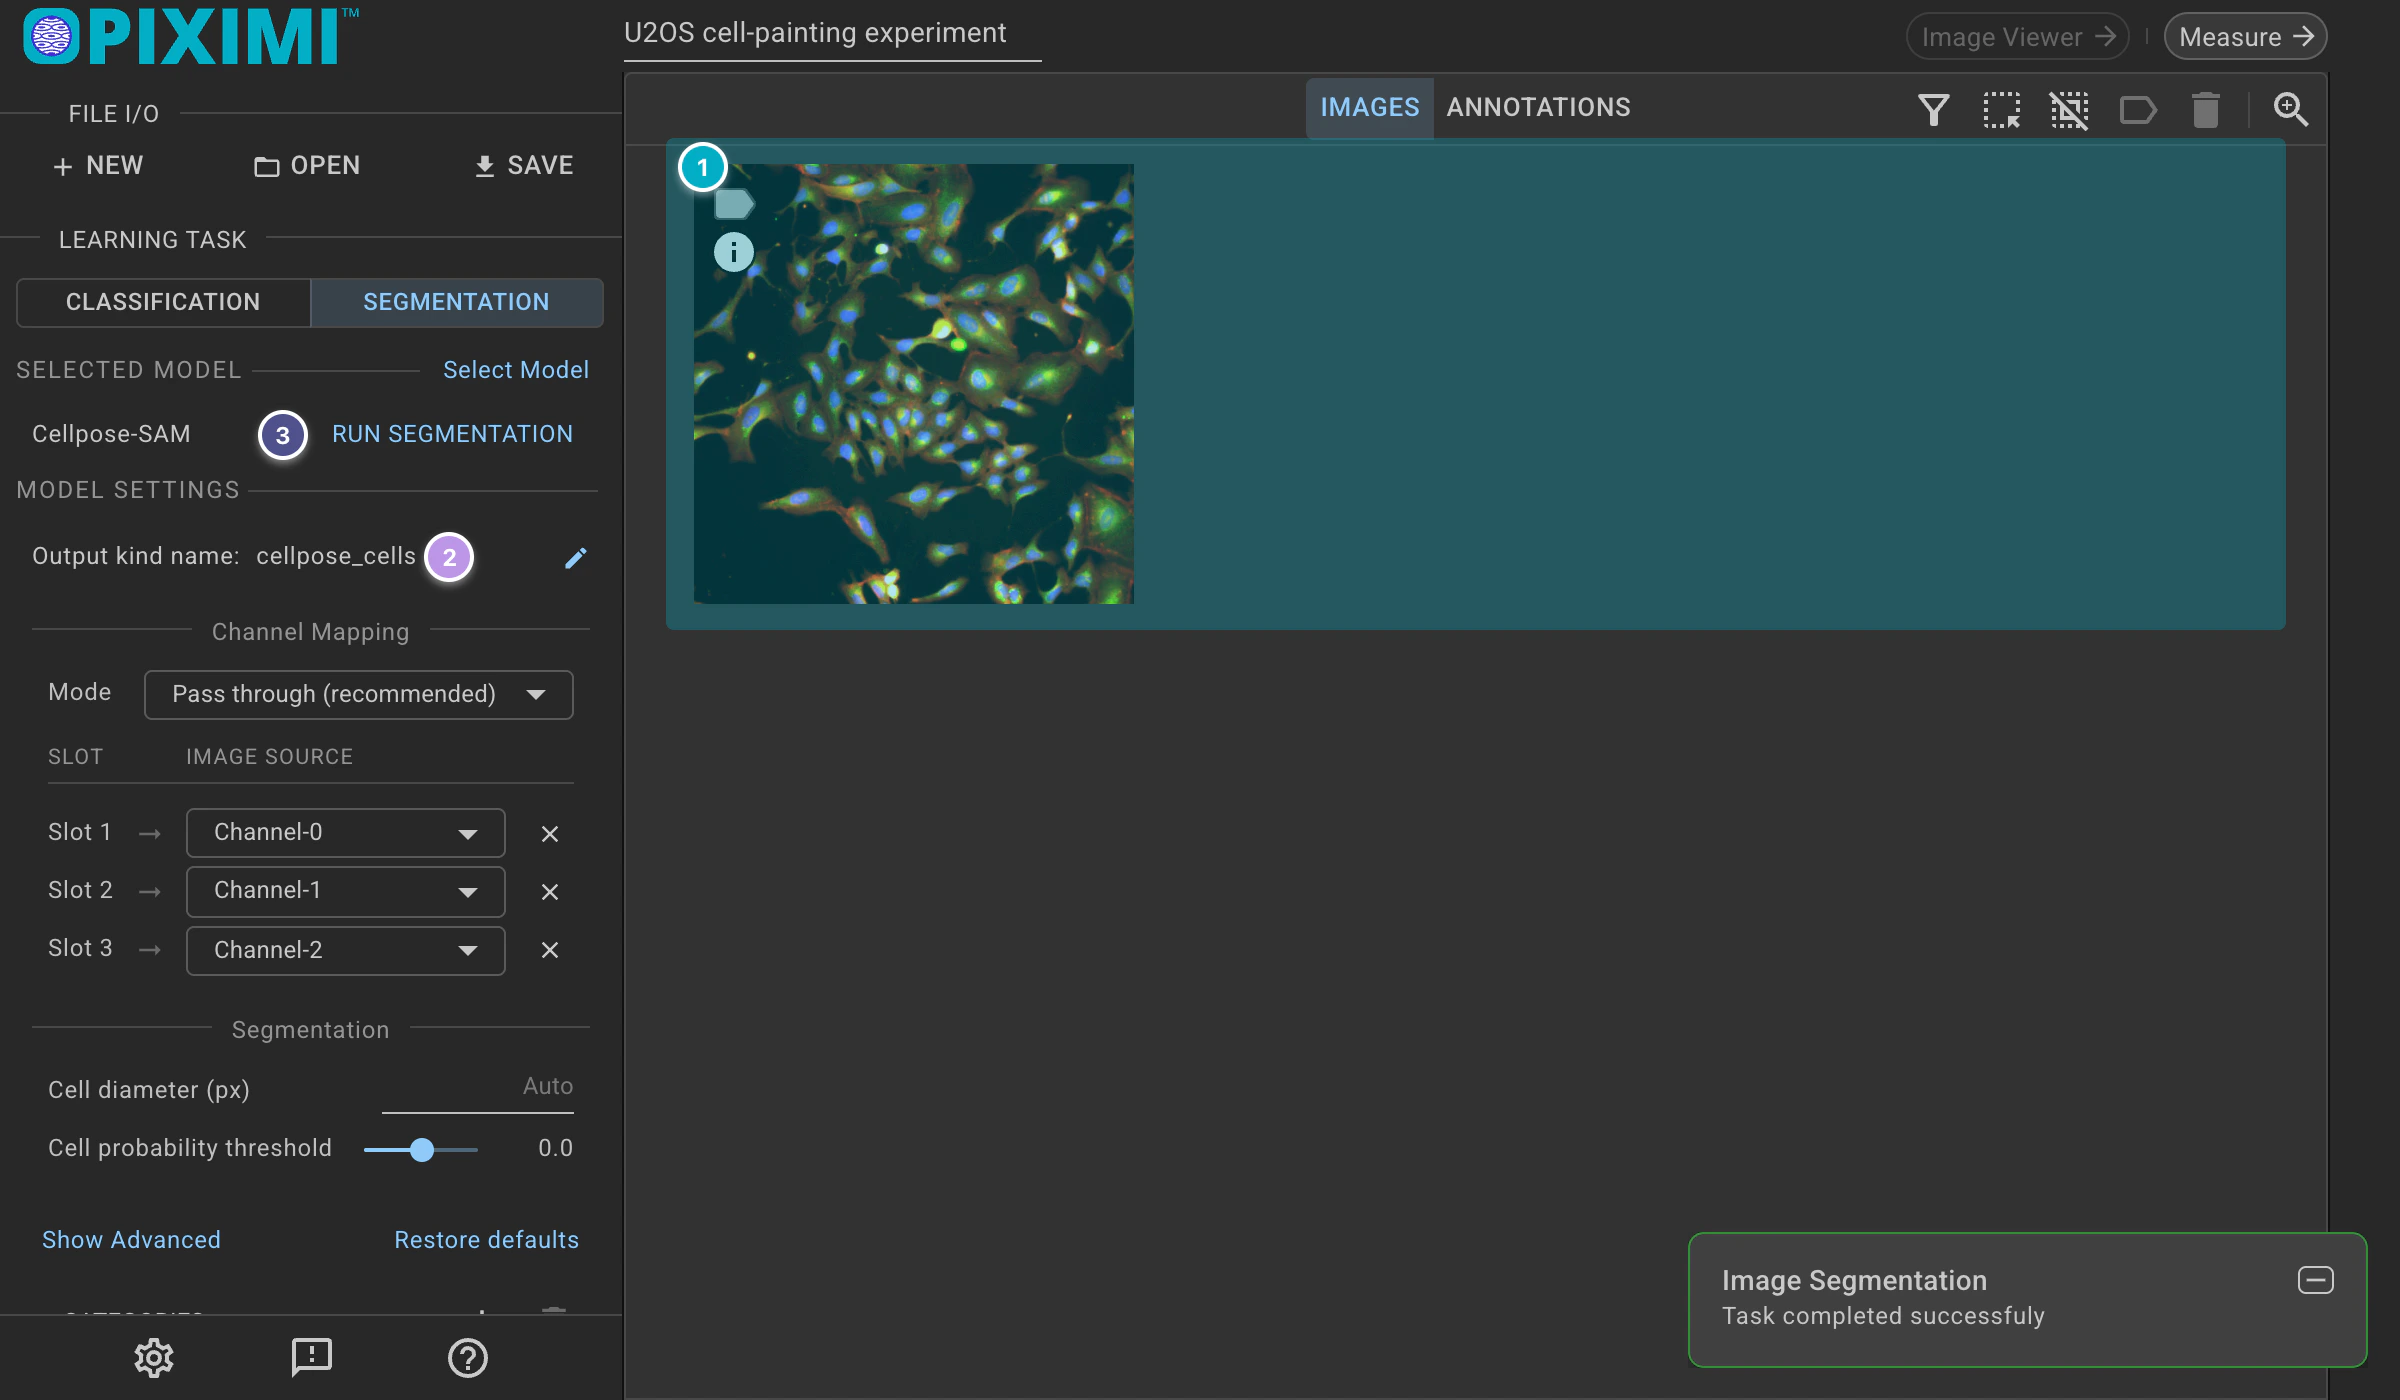
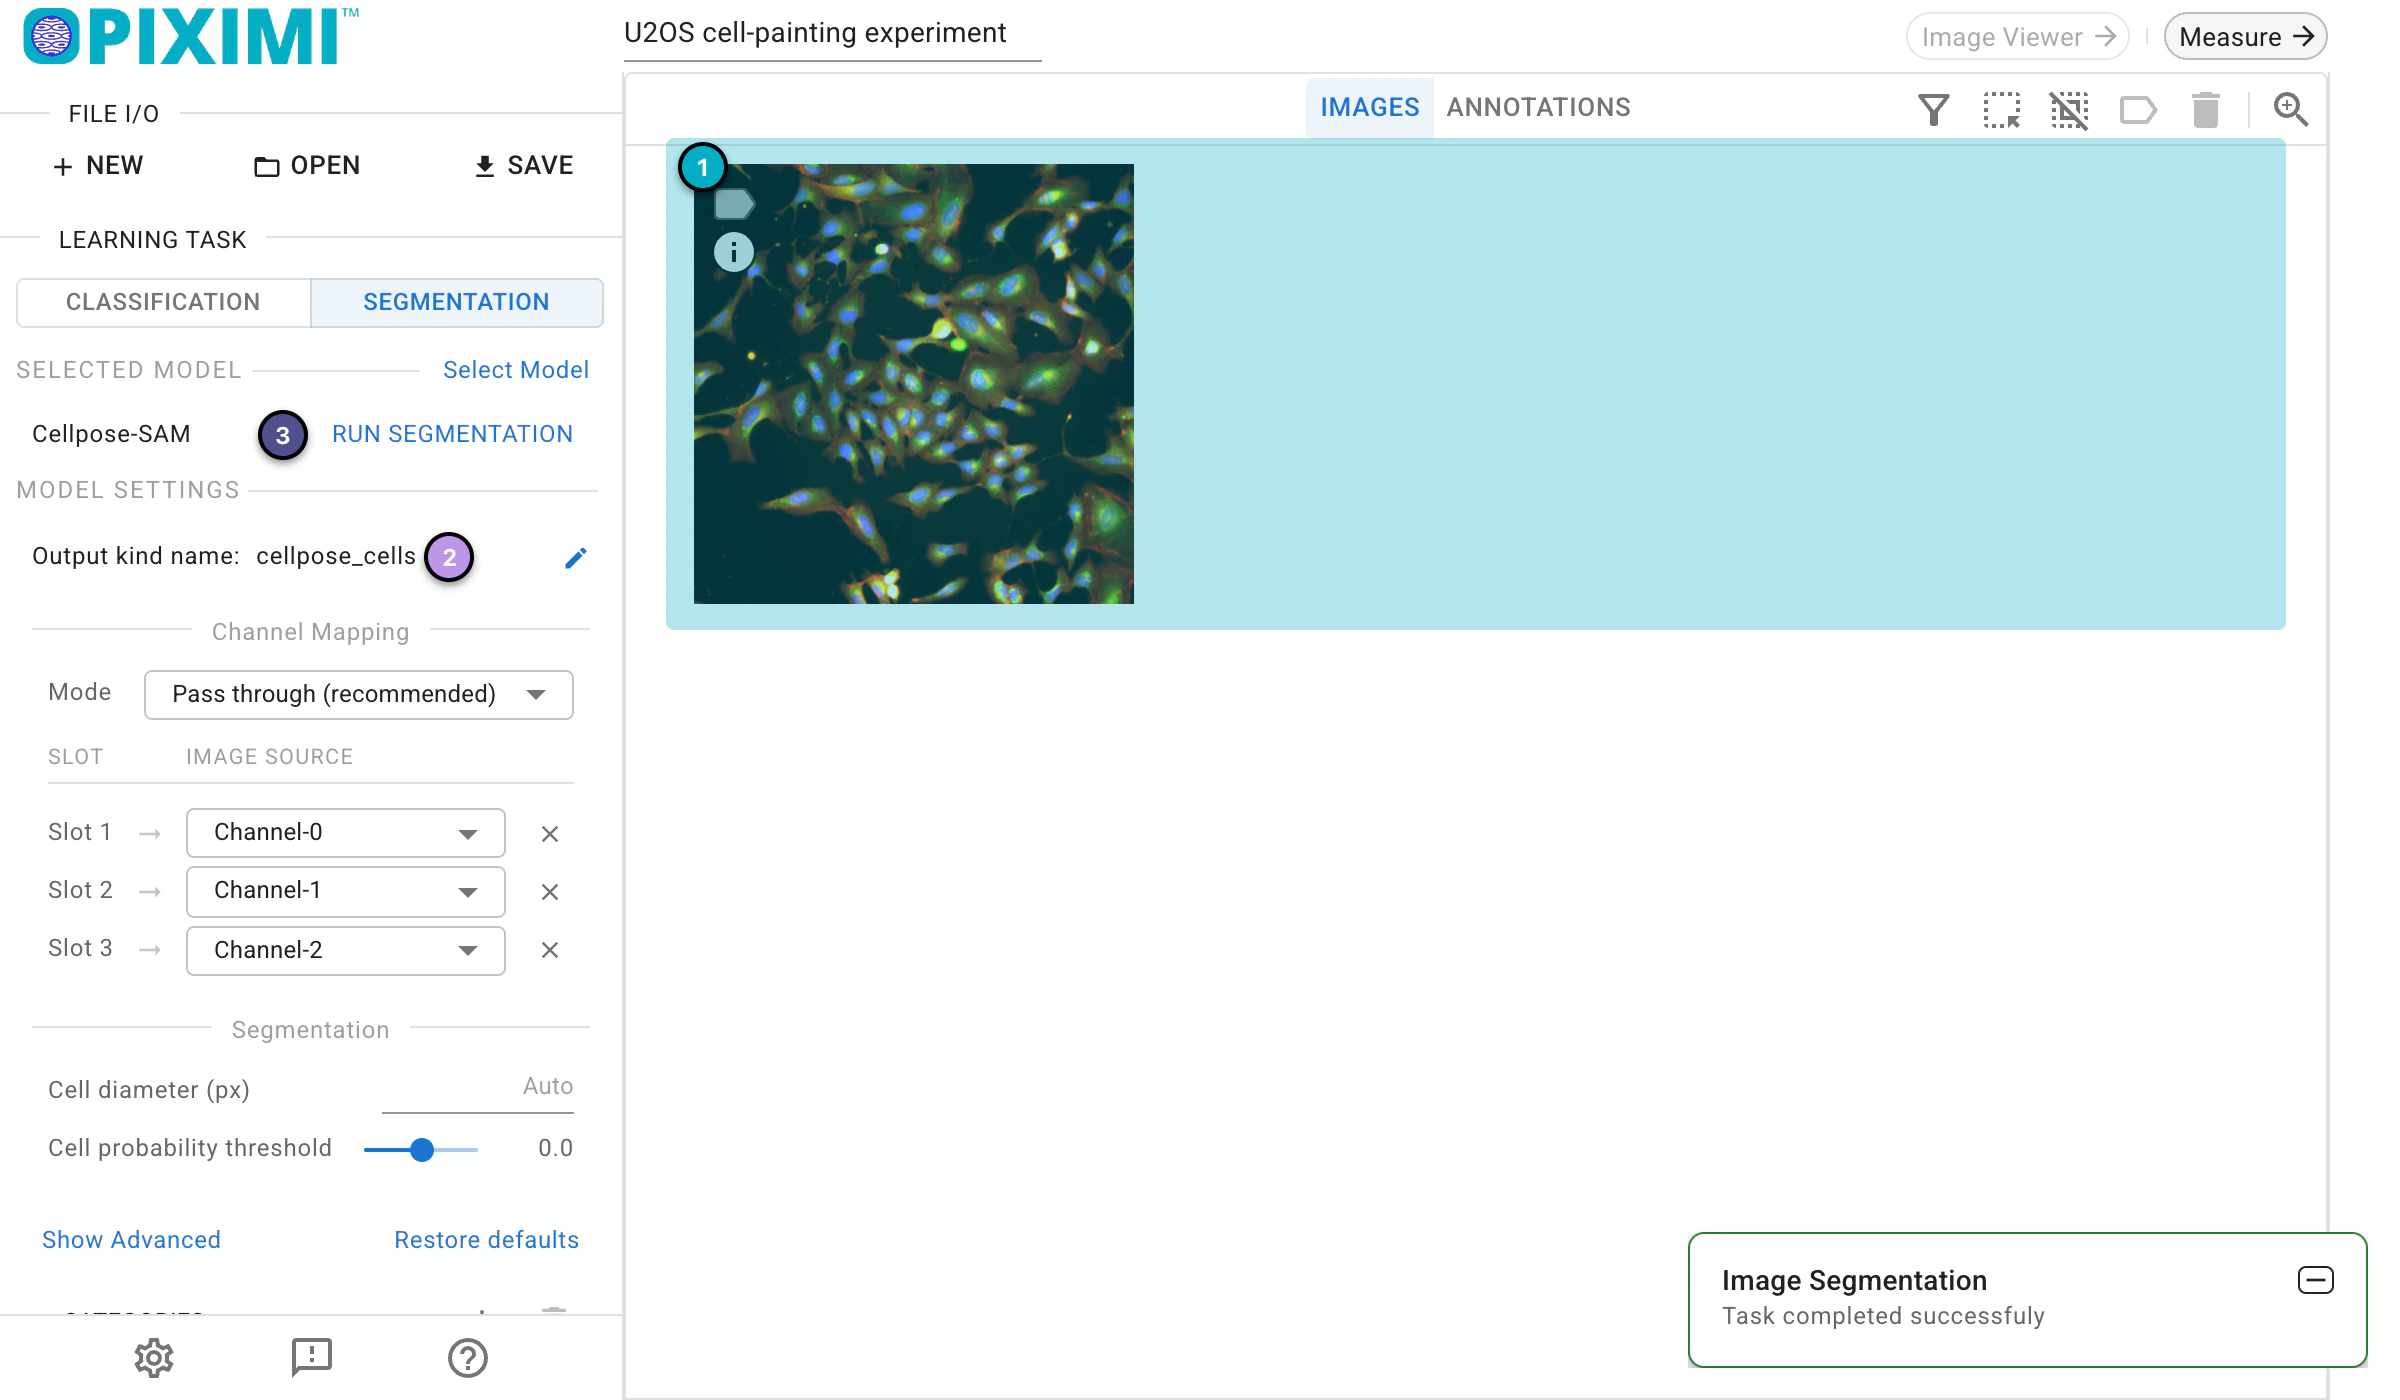
Select the image, then run the segmentation
4. Segmentation output#
The segmented objects are added to the project as a new kind. To view them, click Annotations above the image grid to switch to the Annotations view, then click the kind tab named after the output (cellpose_cells in this example). Each tile shows one segmented cell.
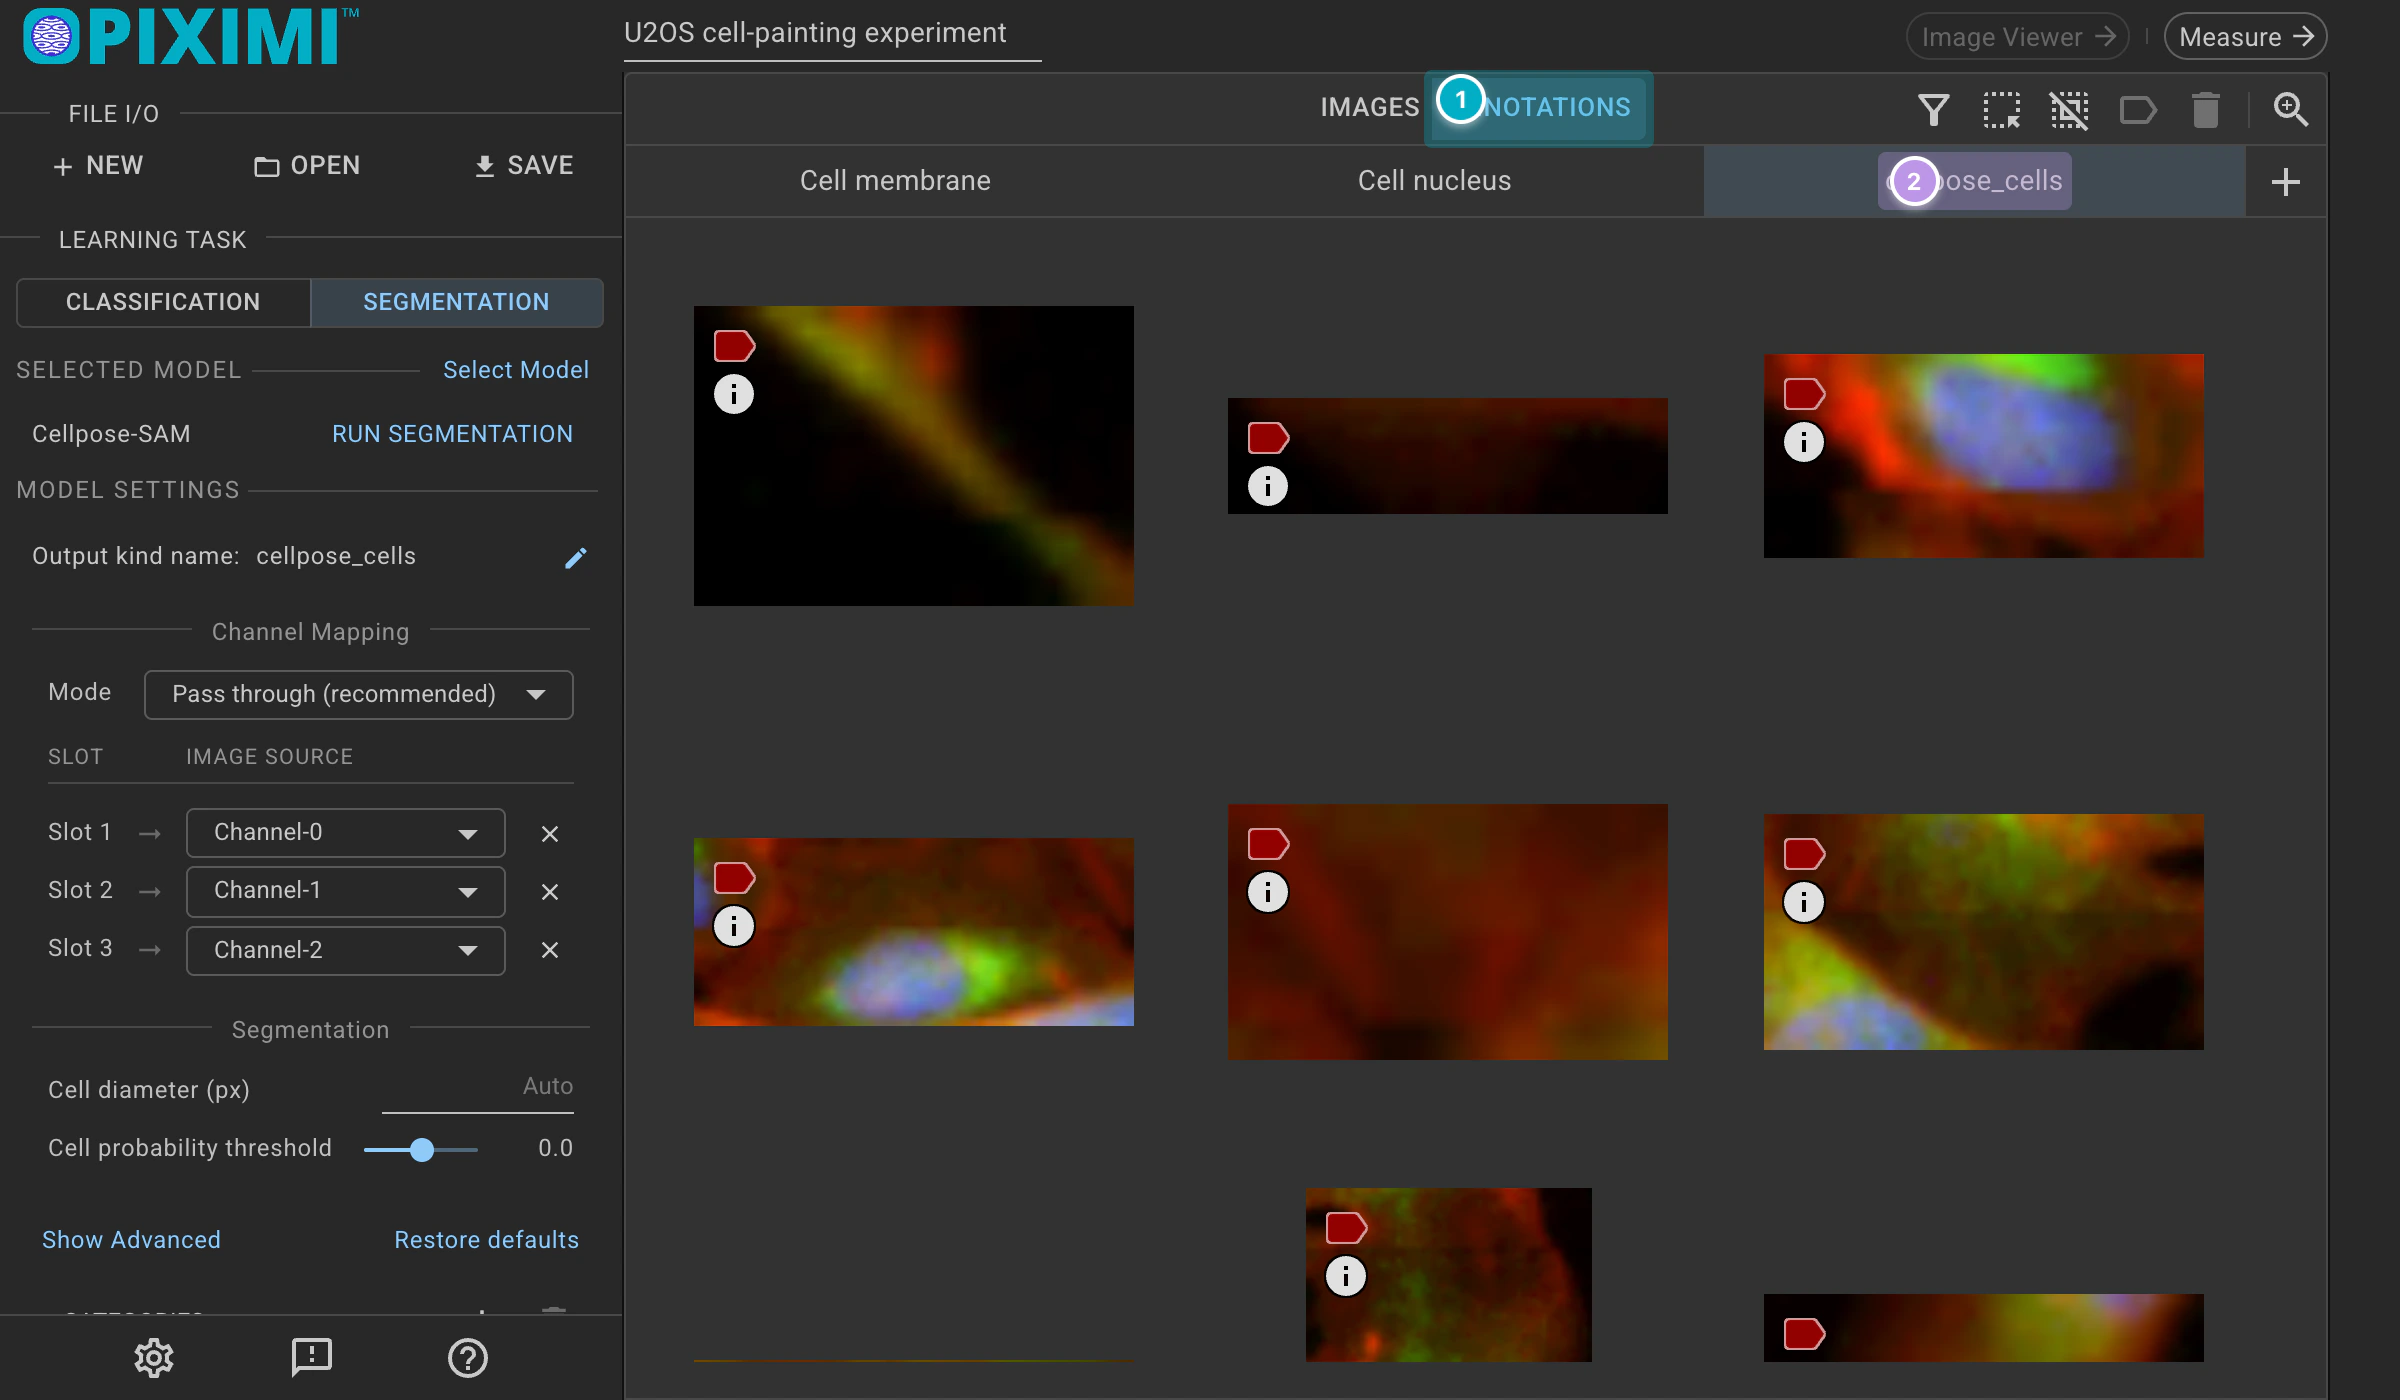
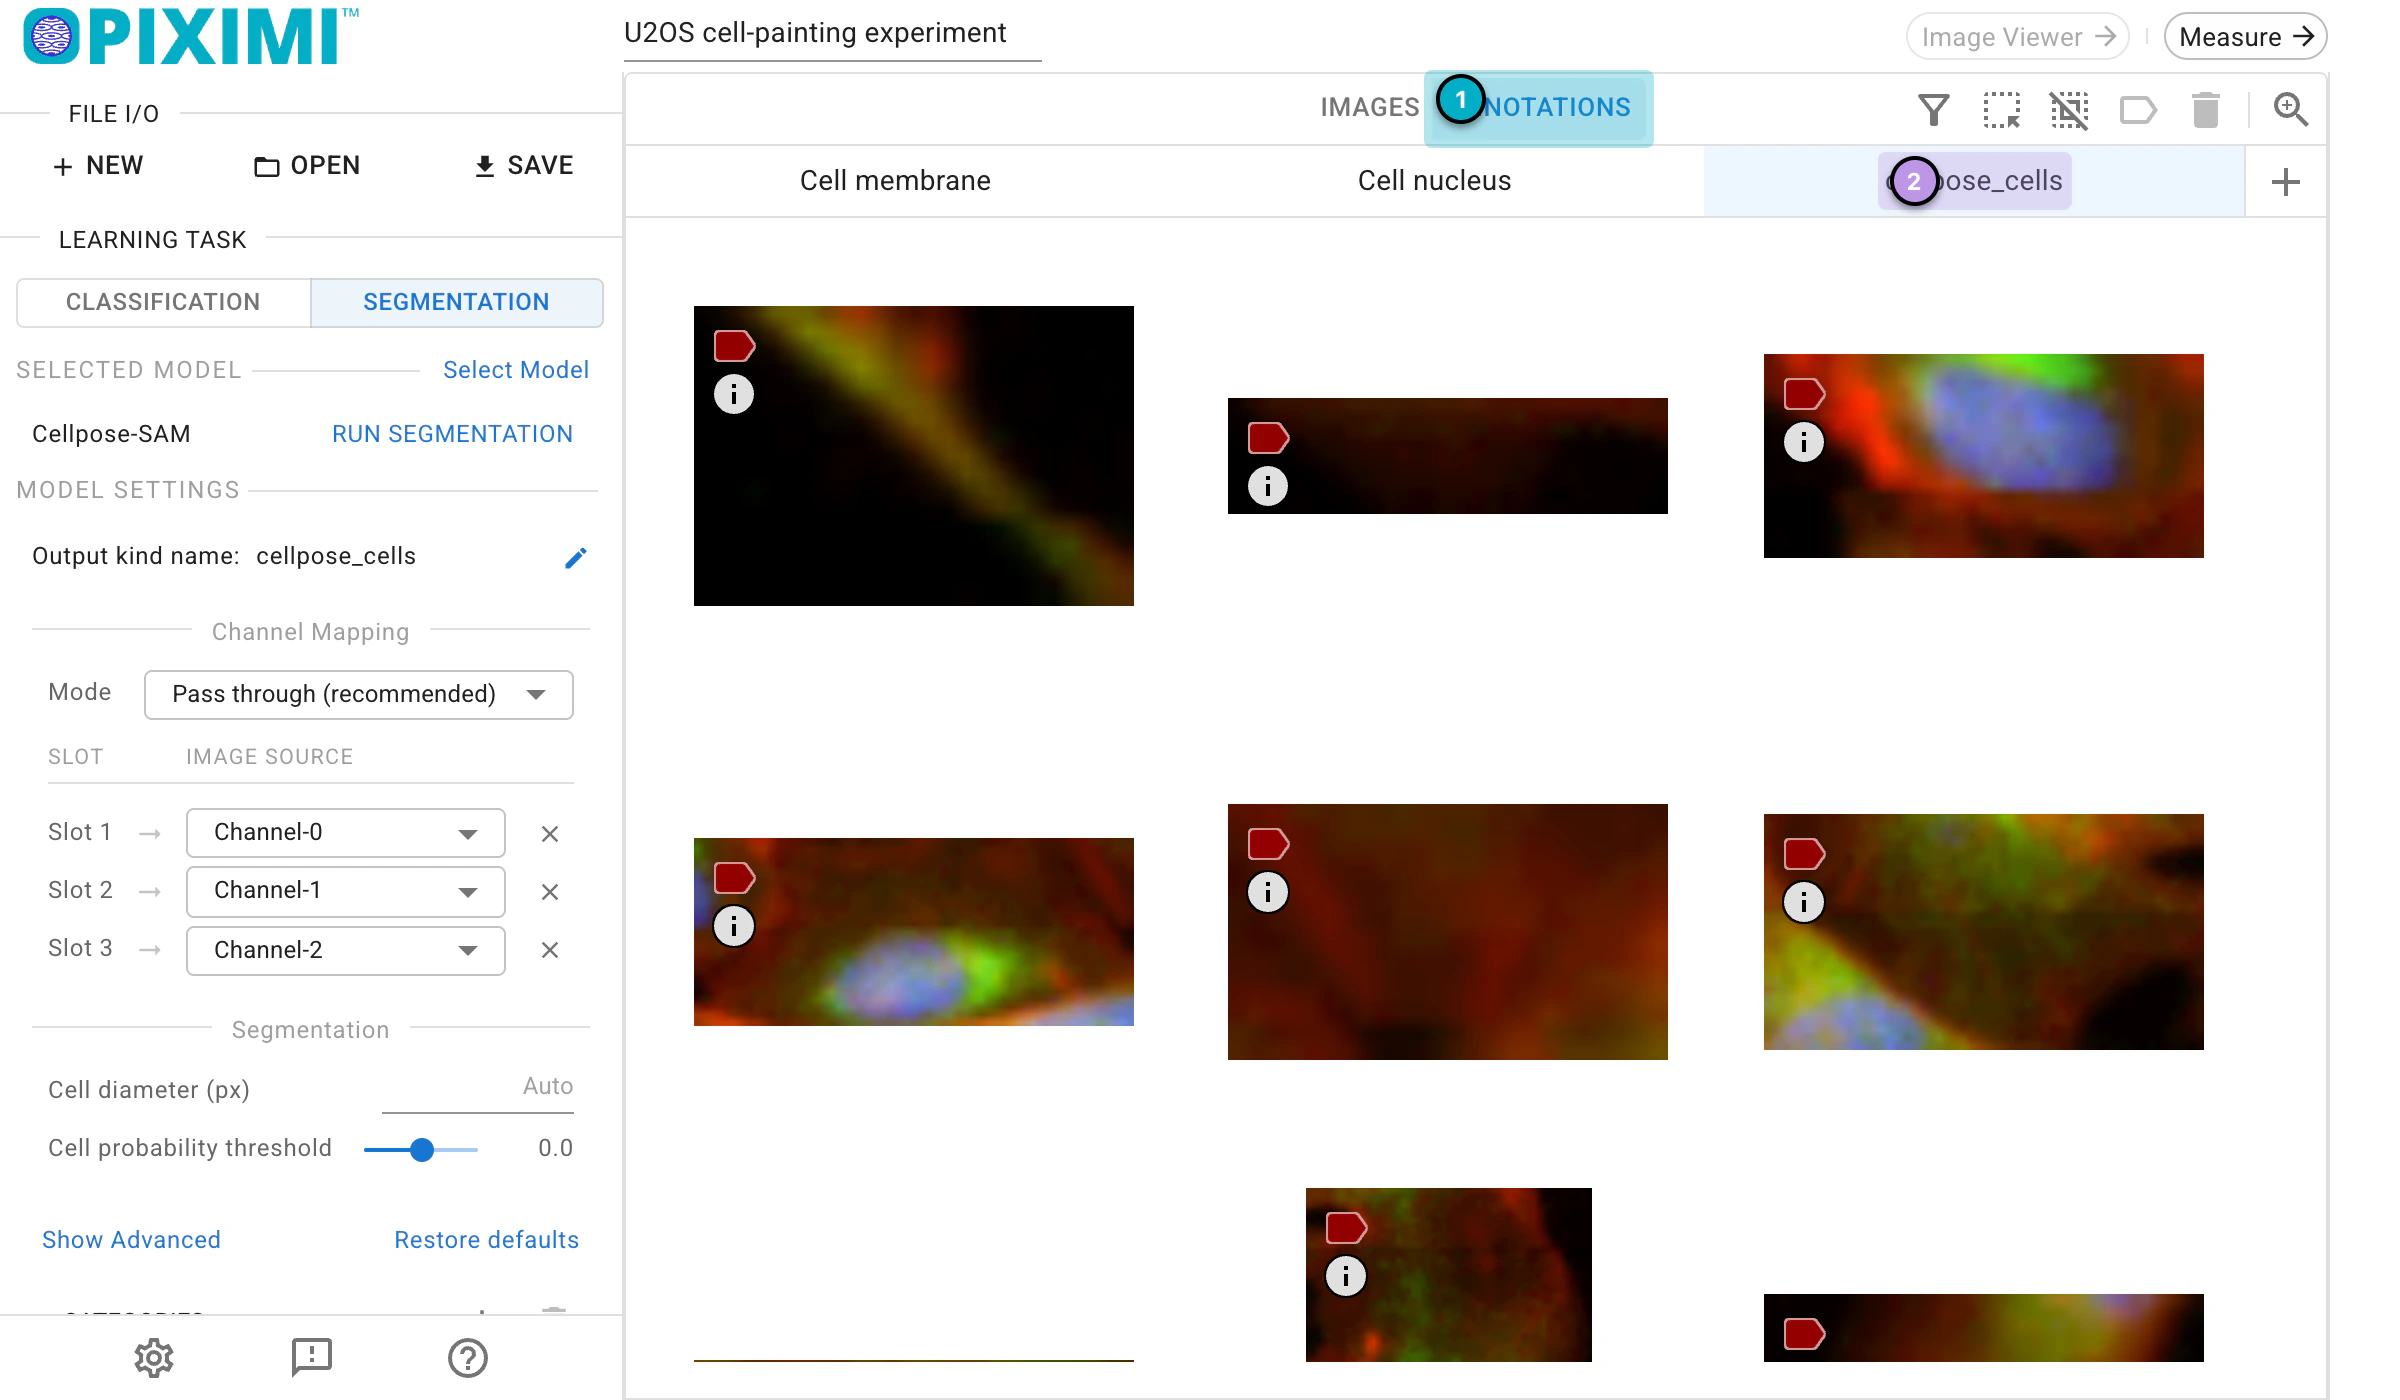
The objects found by Cellpose-SAM
The segmented objects can be used for downstream analysis, including annotations, measurements, and classifications.