
Image Classification#
1. Load images#
To begin, we will load the images from an example dataset included in Piximi. On the start screen, click Open Example Project and select Human U2OS-cells example project. If you already have a project open, you can reach the same list through 
Open > Project > Load Example. Alternatively, if you would like to load your own images, go to Open > Image.
The images correspond to U2OS cells co-expressing arrestin-GFP and an orphan GPCR. Upon receptor stimulation arrestin-GFP is recruited to the plasma membrane and eventually endocytosed resulting in vesicle like structures.
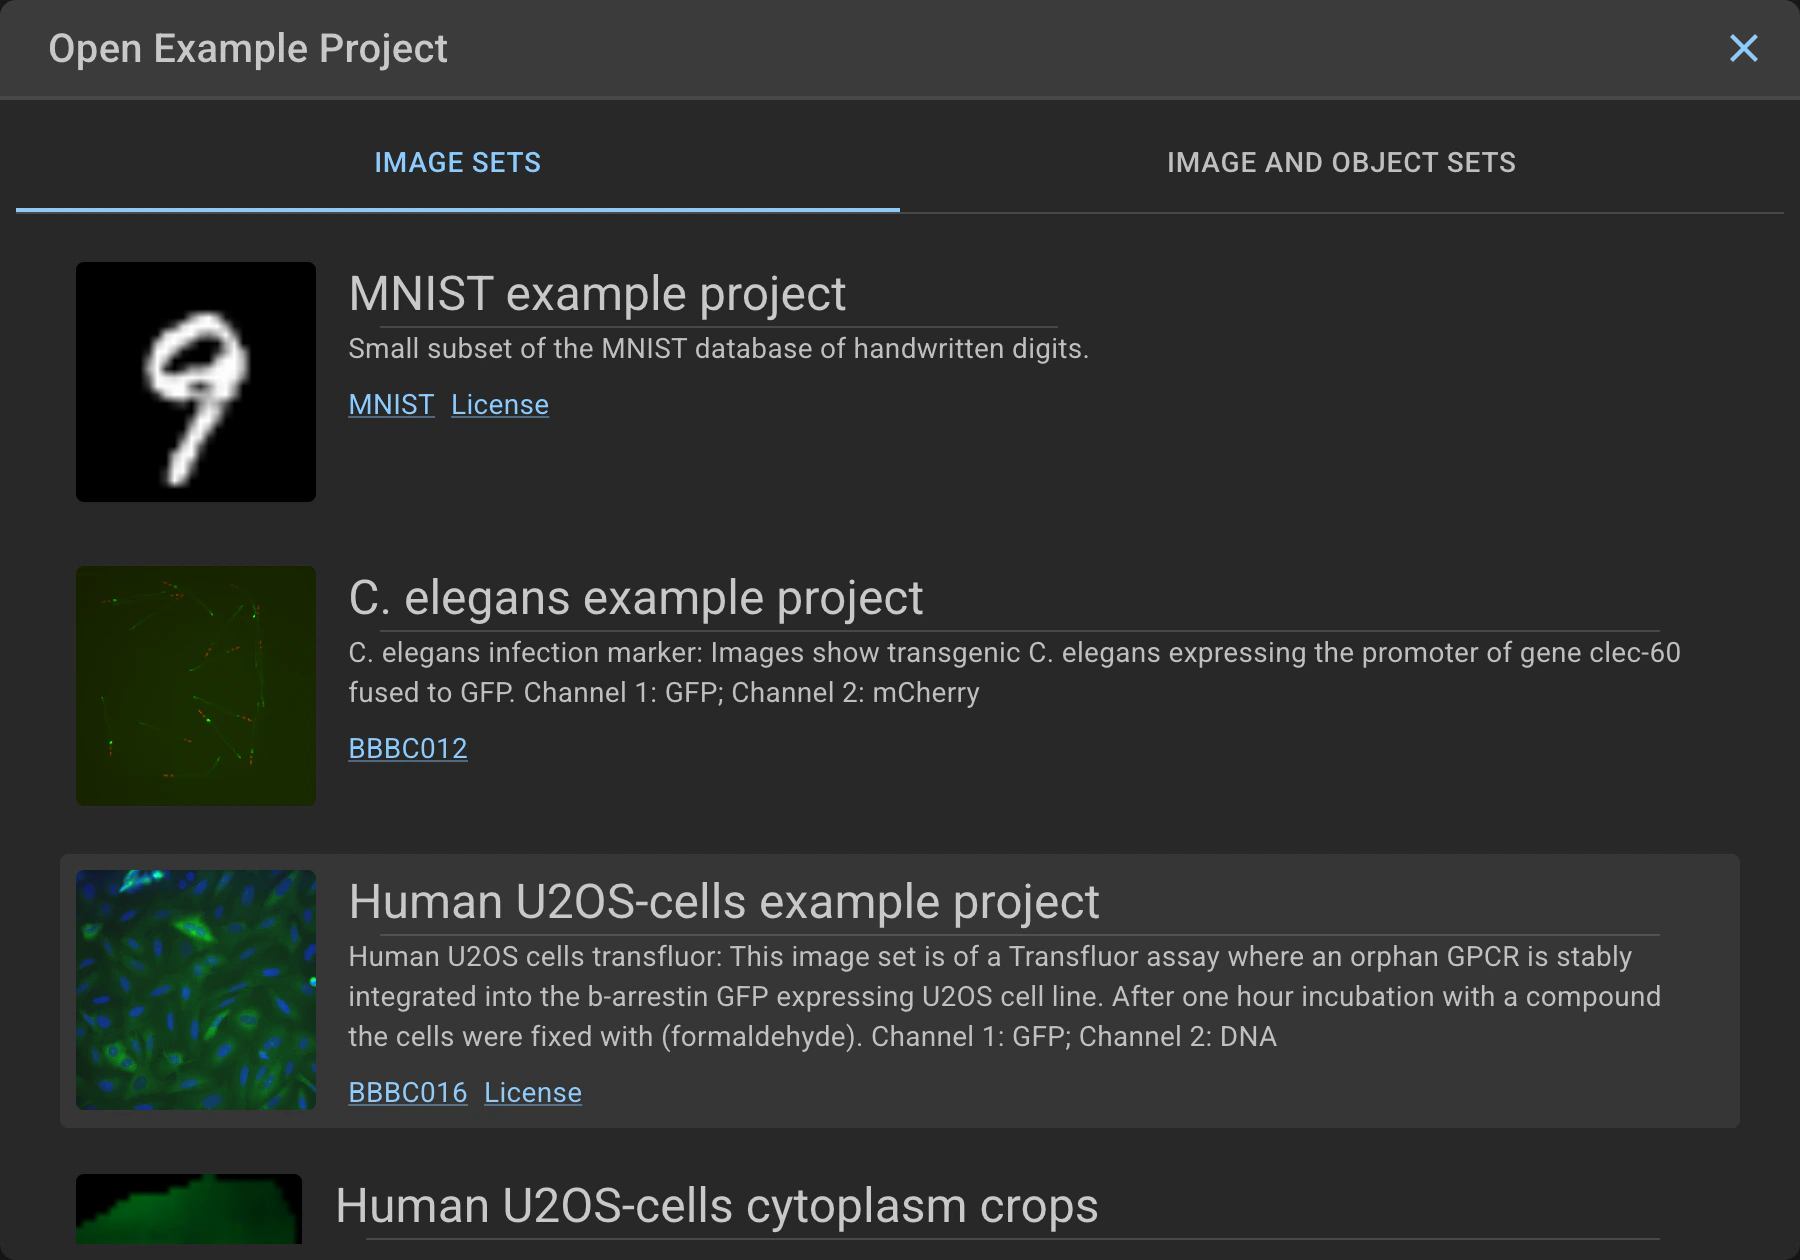
Open the U2OS example dataset
2. Categorize images#
The Categories list on the left hand side shows that there are already 3 classes defined for the U2OS example project, along with the number of images in each. A handful of images have already been categorized for you; the rest are still Unknown. The classes are:
Unknown
This represents the uncategorized images. Piximi will predict which class these images belong to later
Positive Control (GRK)
Images in which the GFP forms vesicle-like structures
Negative Control (Untreated)
Images in which the GFP is spread throughout the cytoplasm
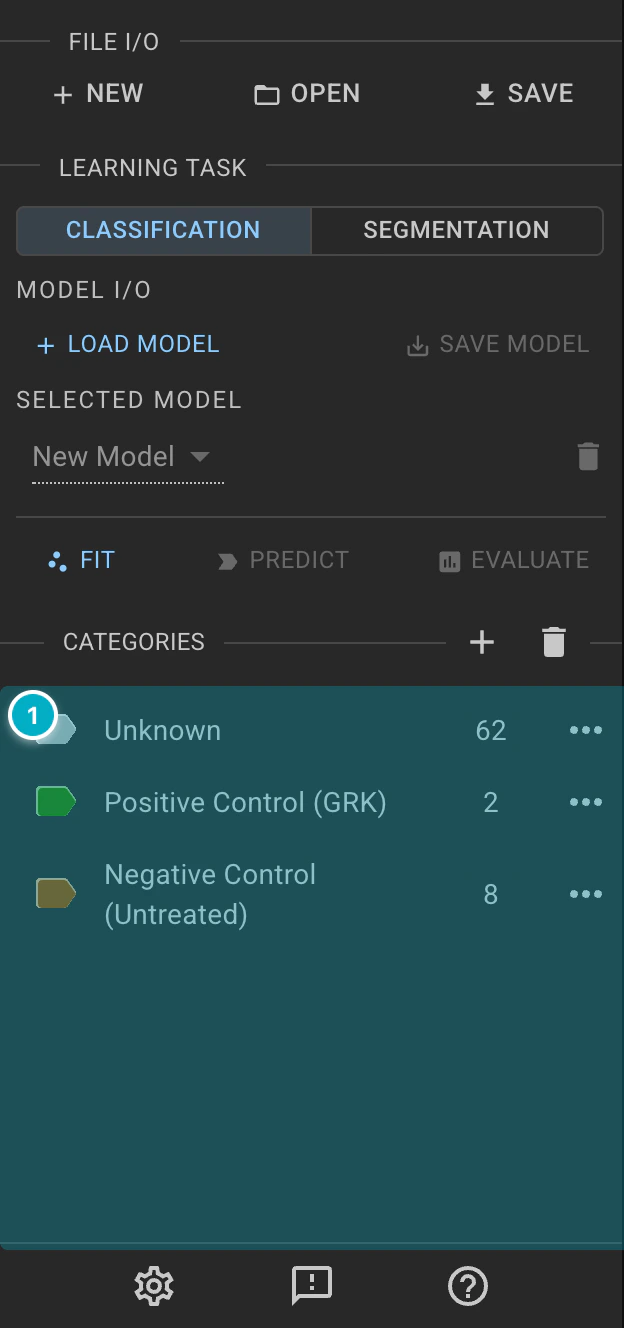
Explore the Categories list. The number next to each category is how many images it holds.
To turn on/off the display of images under a given label, click on the 

Sort | Filter icon above the images, open Category Filters, and click a category to move it between Visible and Filtered. Categories in the Filtered box are hidden from the grid; click the ✕ on its chip to show it once more.
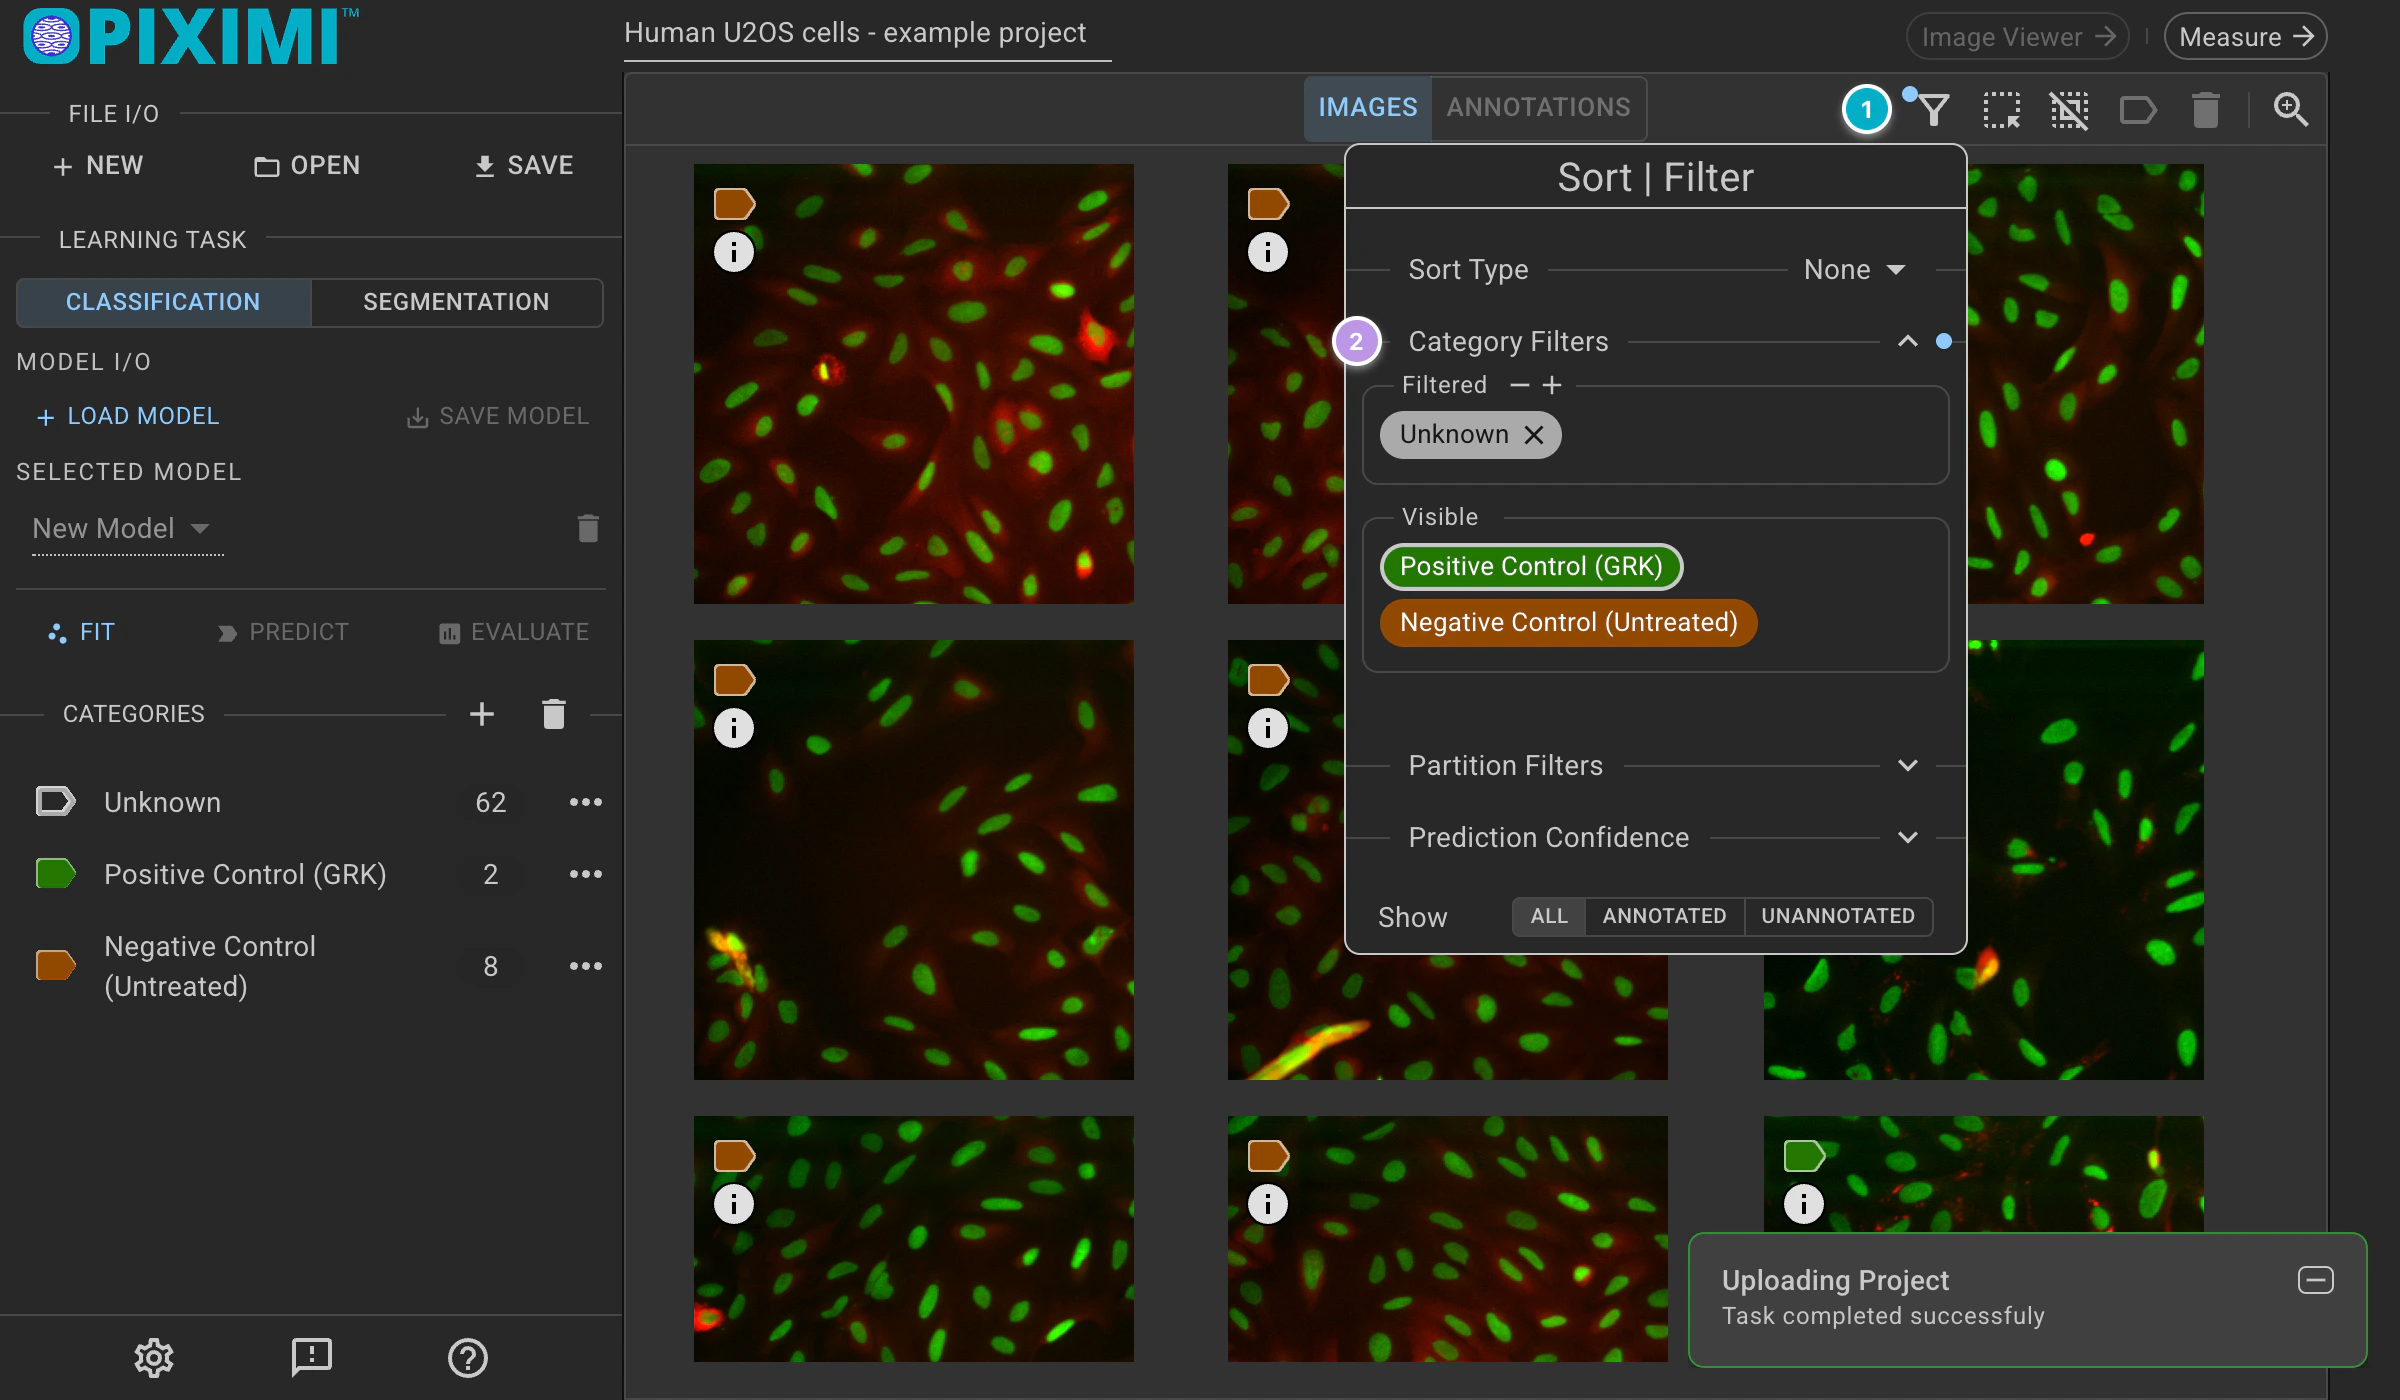
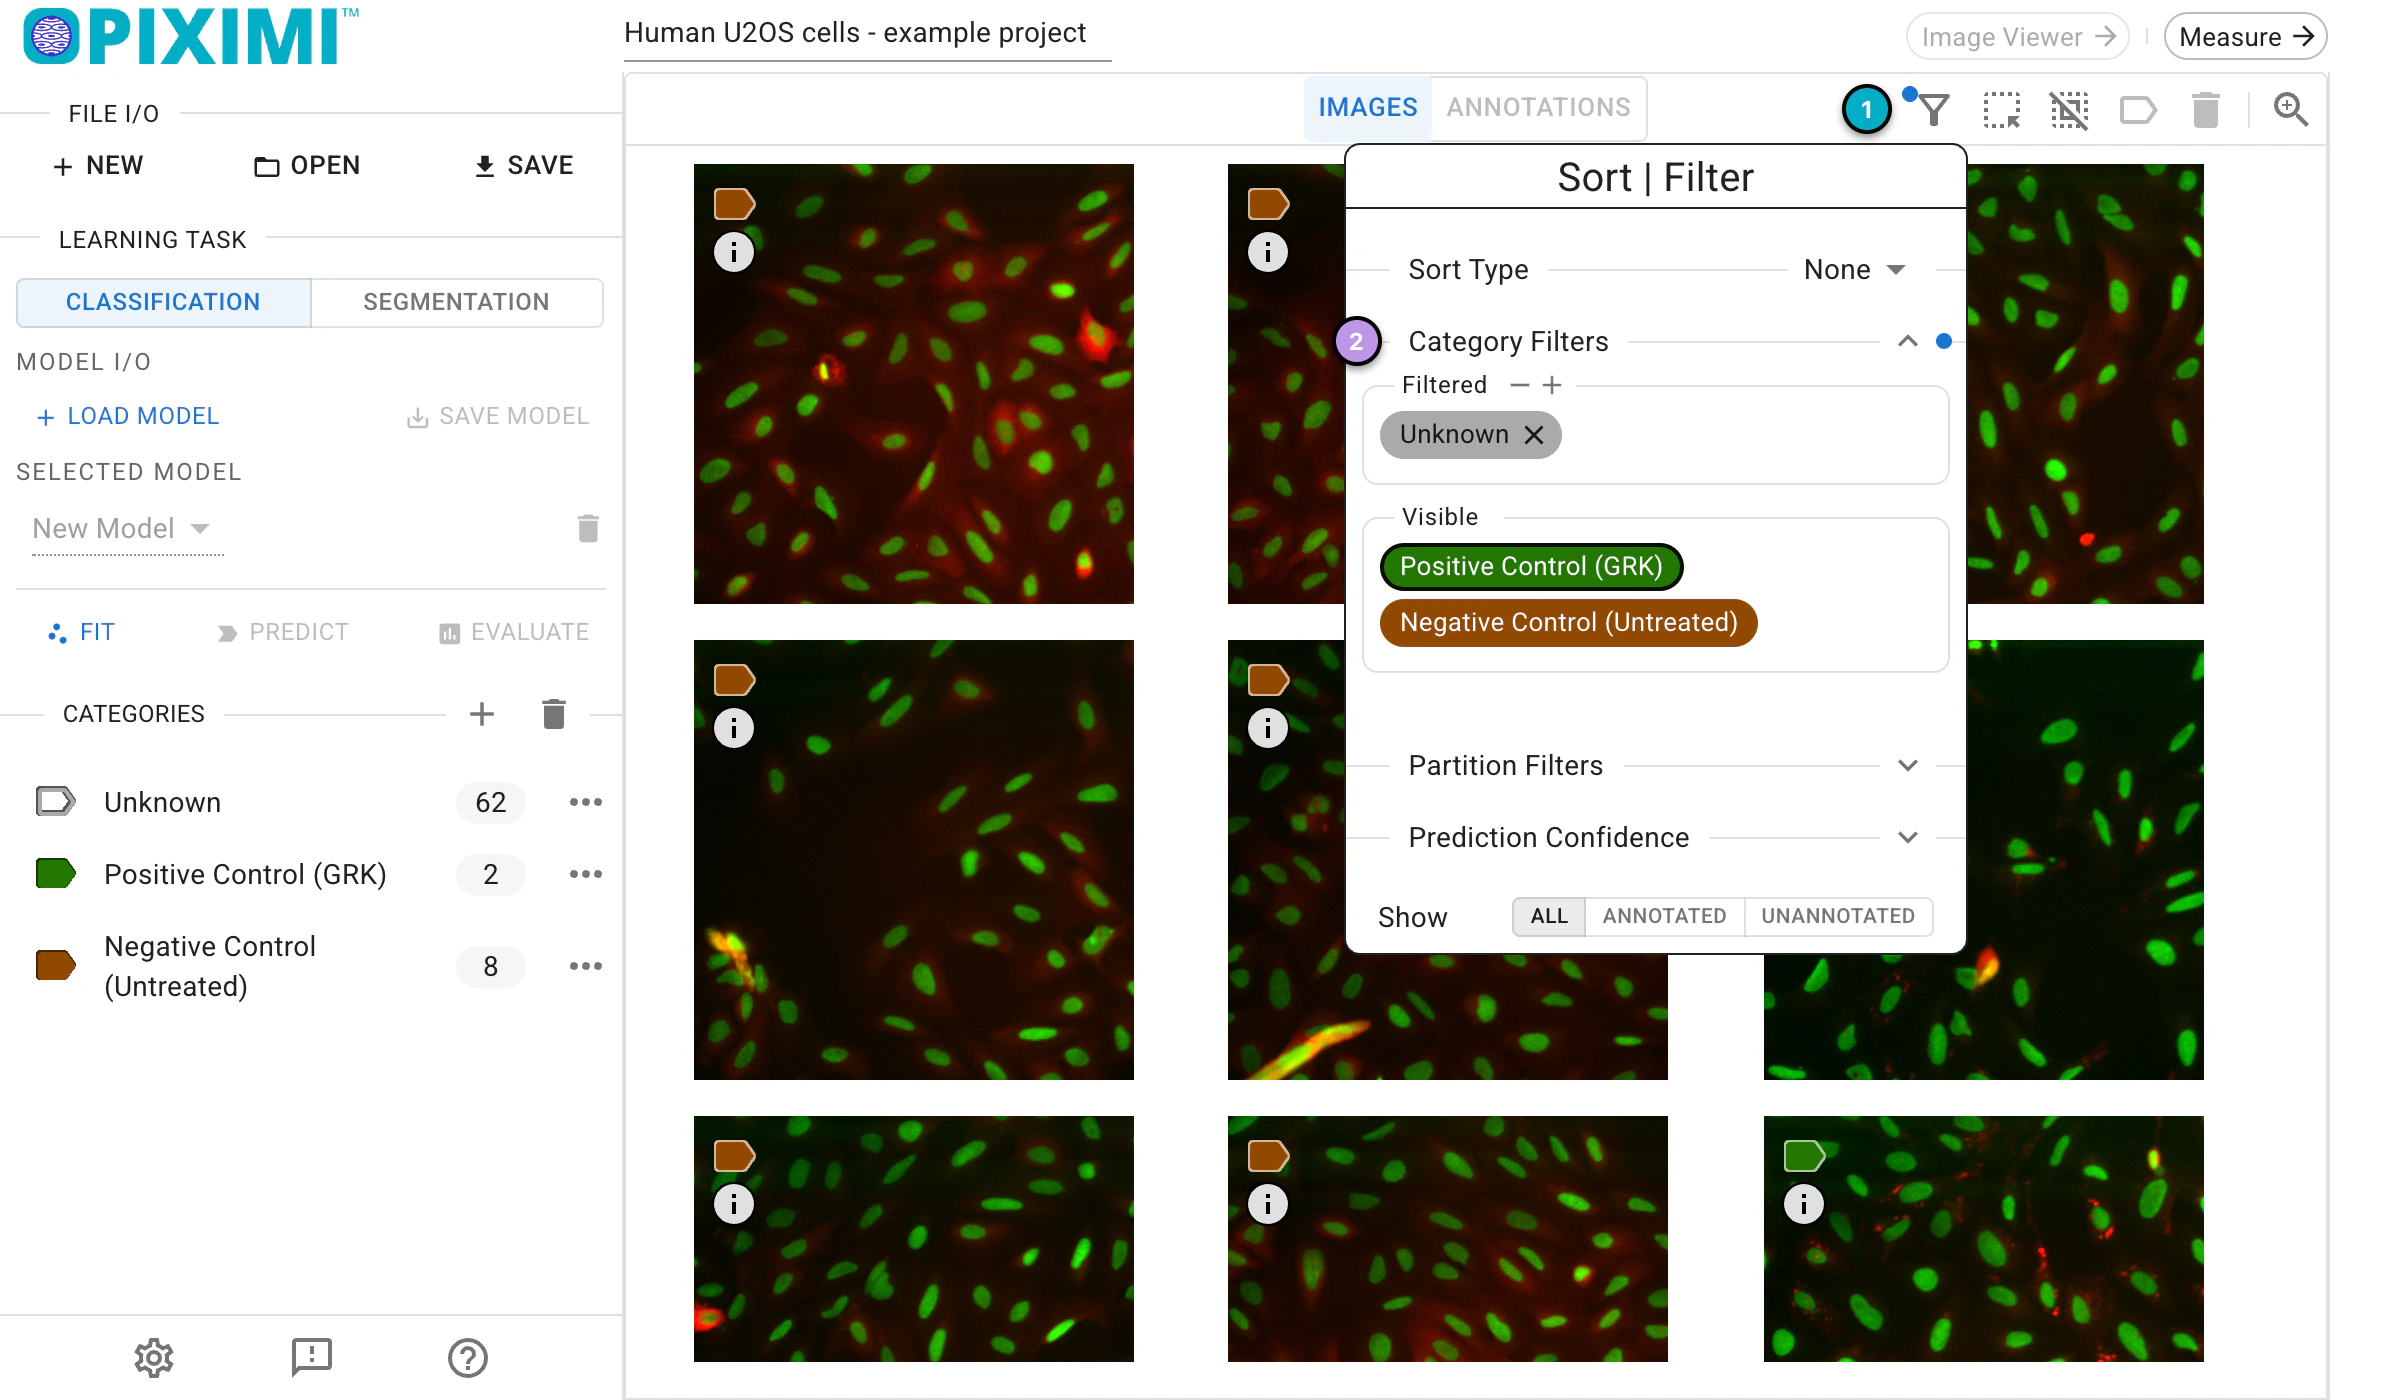
Hide the Unknown images by moving the Unknown category to Filtered.
Ensure no images are currently selected by clicking the 

Deselect icon. Then, single-click to select 2-3 images from the unknown category that best fit the Negative Control (Untreated) category. Once selected, click the 

Categorize icon in the top right of the image grid and select Negative Control (Untreated). Do the same for 2-3 Positive Control (GRK) images.
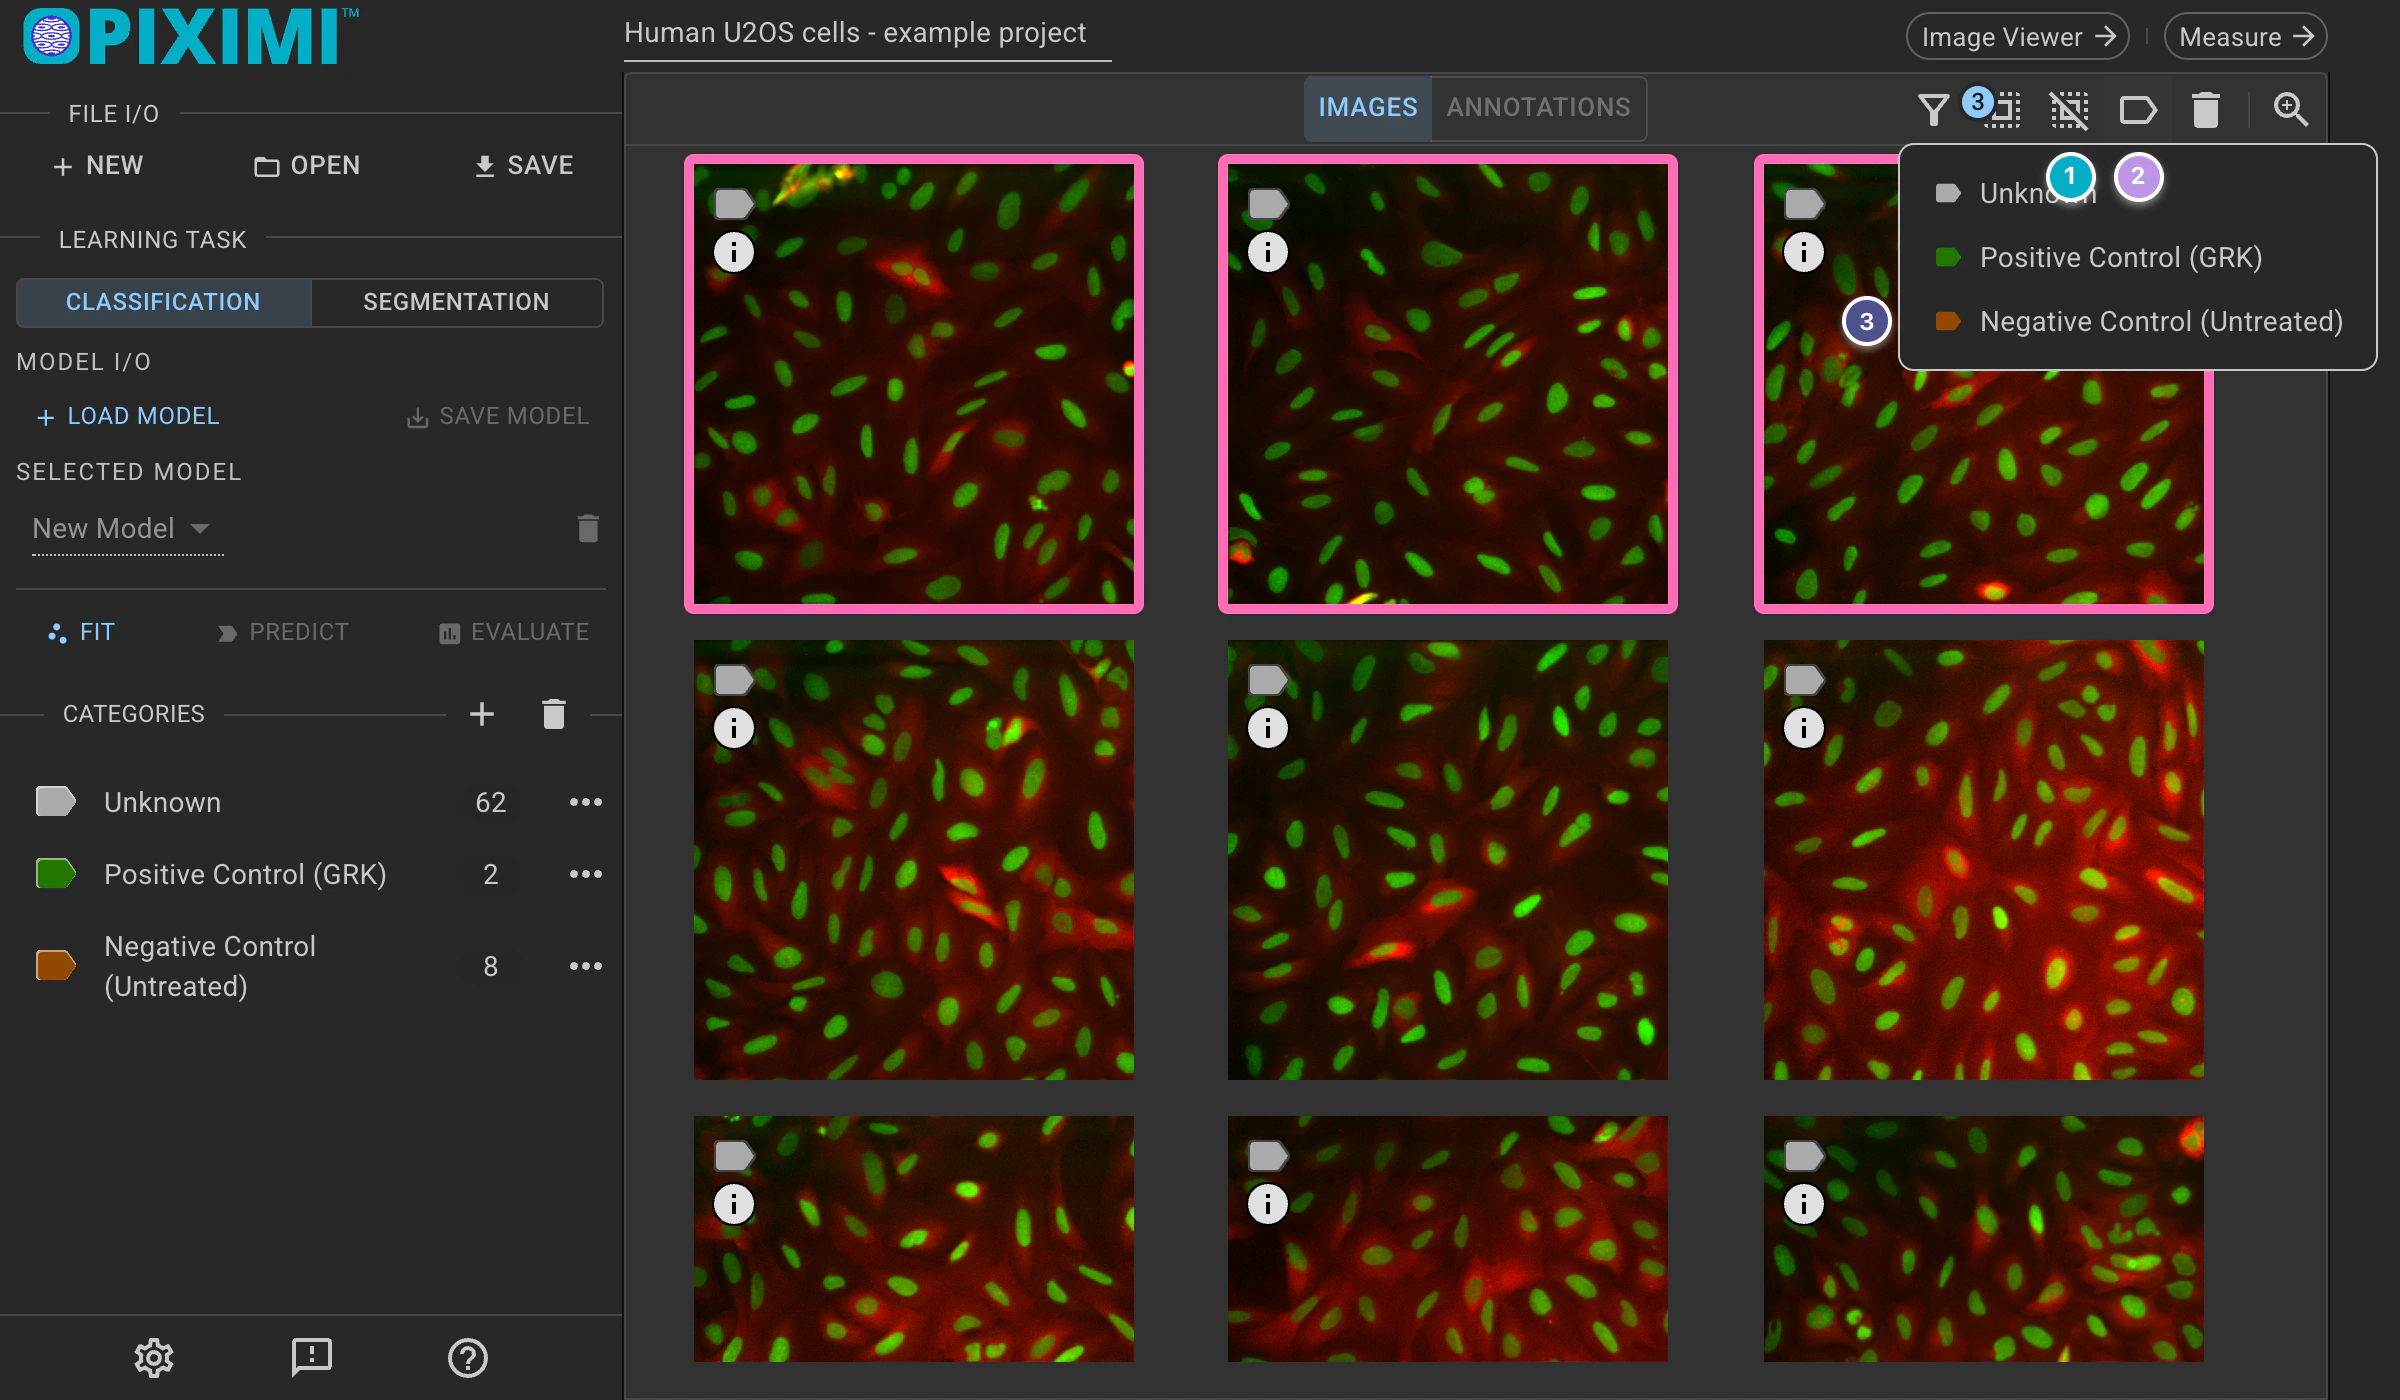
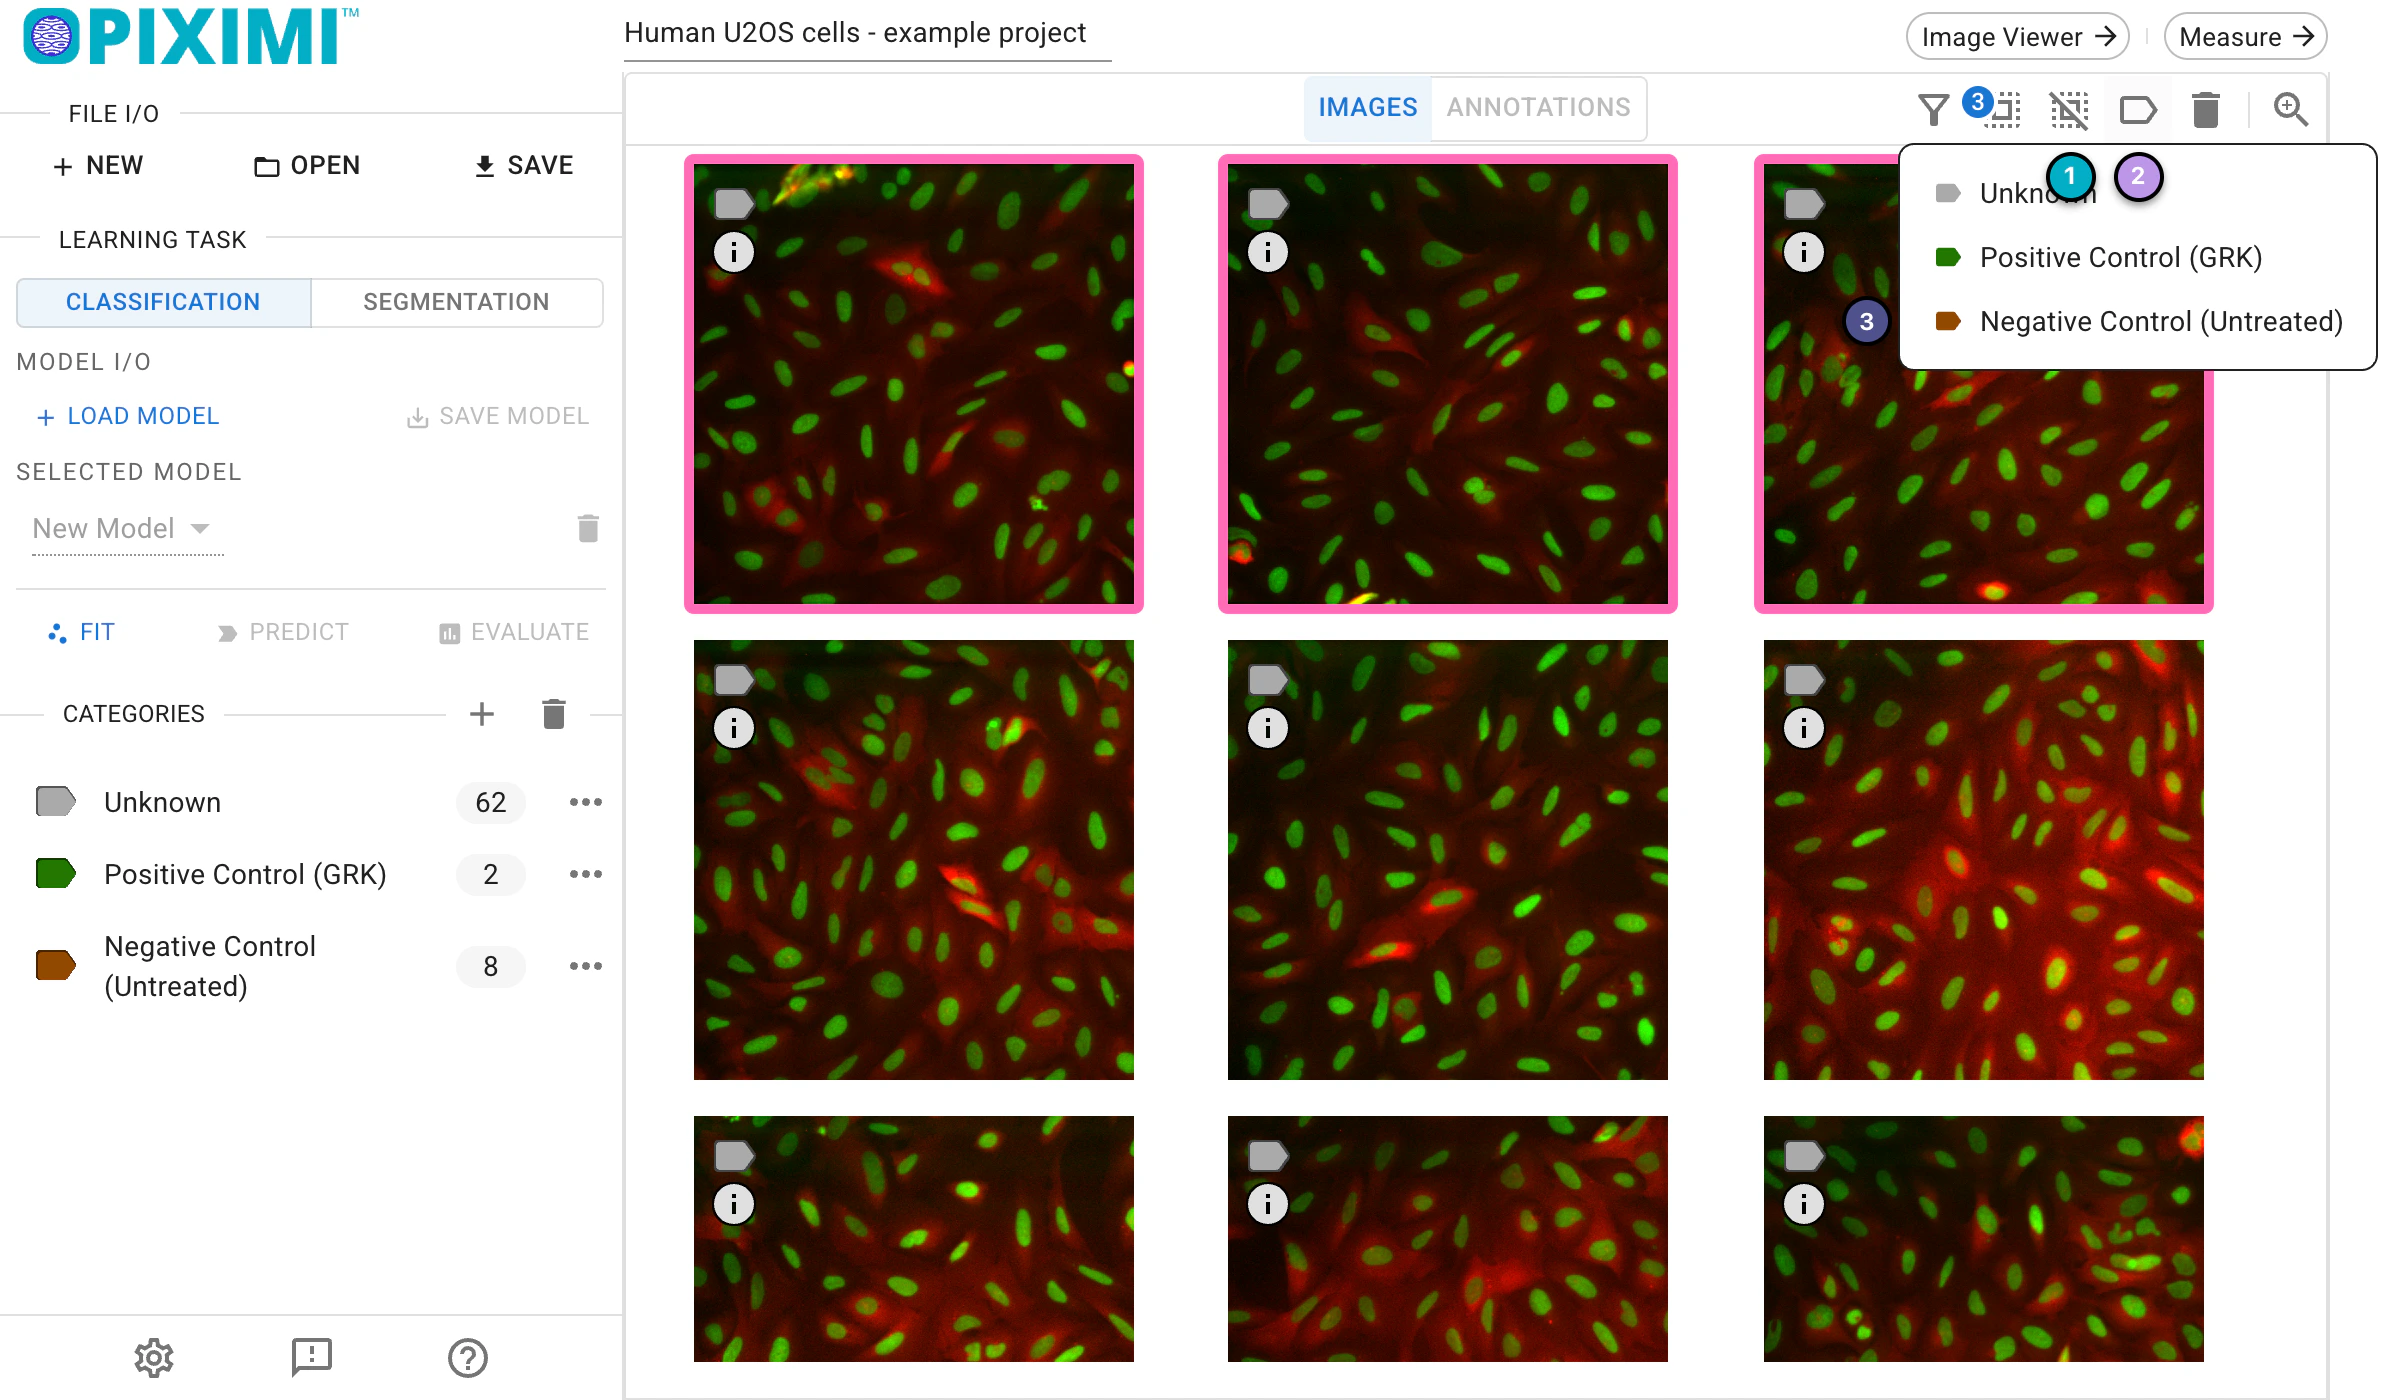
Select a few images, then choose the category to assign them to.
3. Train model#
Click on the Classification button under Learning Task then proceed to customize the settings for model fitting by clicking the Fit button. Within the dialog that opens, you can select various parameters to adjust model training. Under Data Preprocessing Settings, the Training Percentage field (found under Data Partitioning) controls what fraction of the images you have categorized will be used to train the model in Piximi. The remainder will be used to test how well Piximi can classify images not previously seen. We will use the default for now.
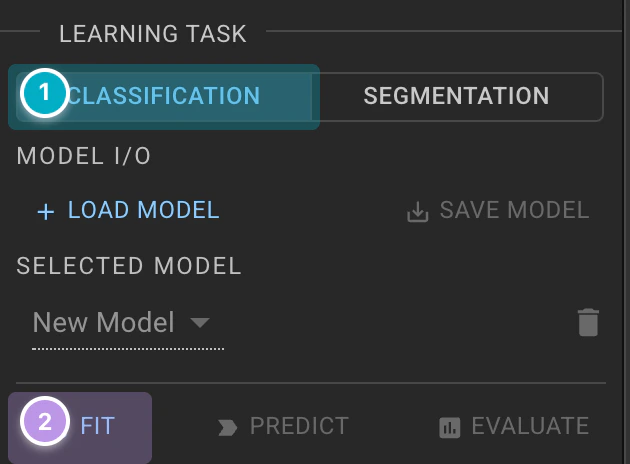
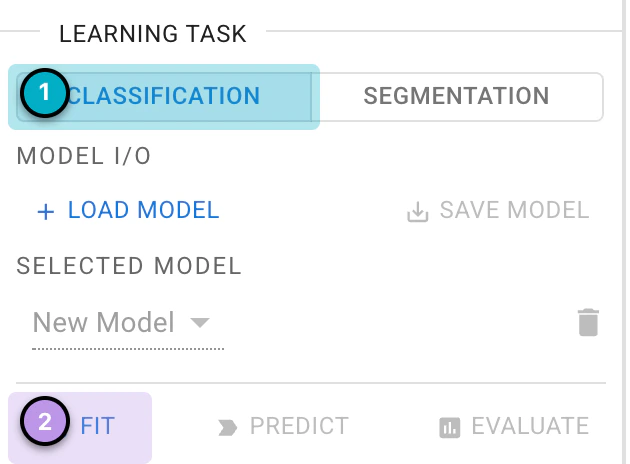
Select the Classification task and open the classifier settings with Fit.
In the bottom right, click the 
Fit Classifier button to begin training. Piximi will now look at the training subset of the images you have categorized and try to learn what links the input image to a particular class. Then, Piximi will apply what it has learned by examining the validation subset of images and compare the models answers to the image class.
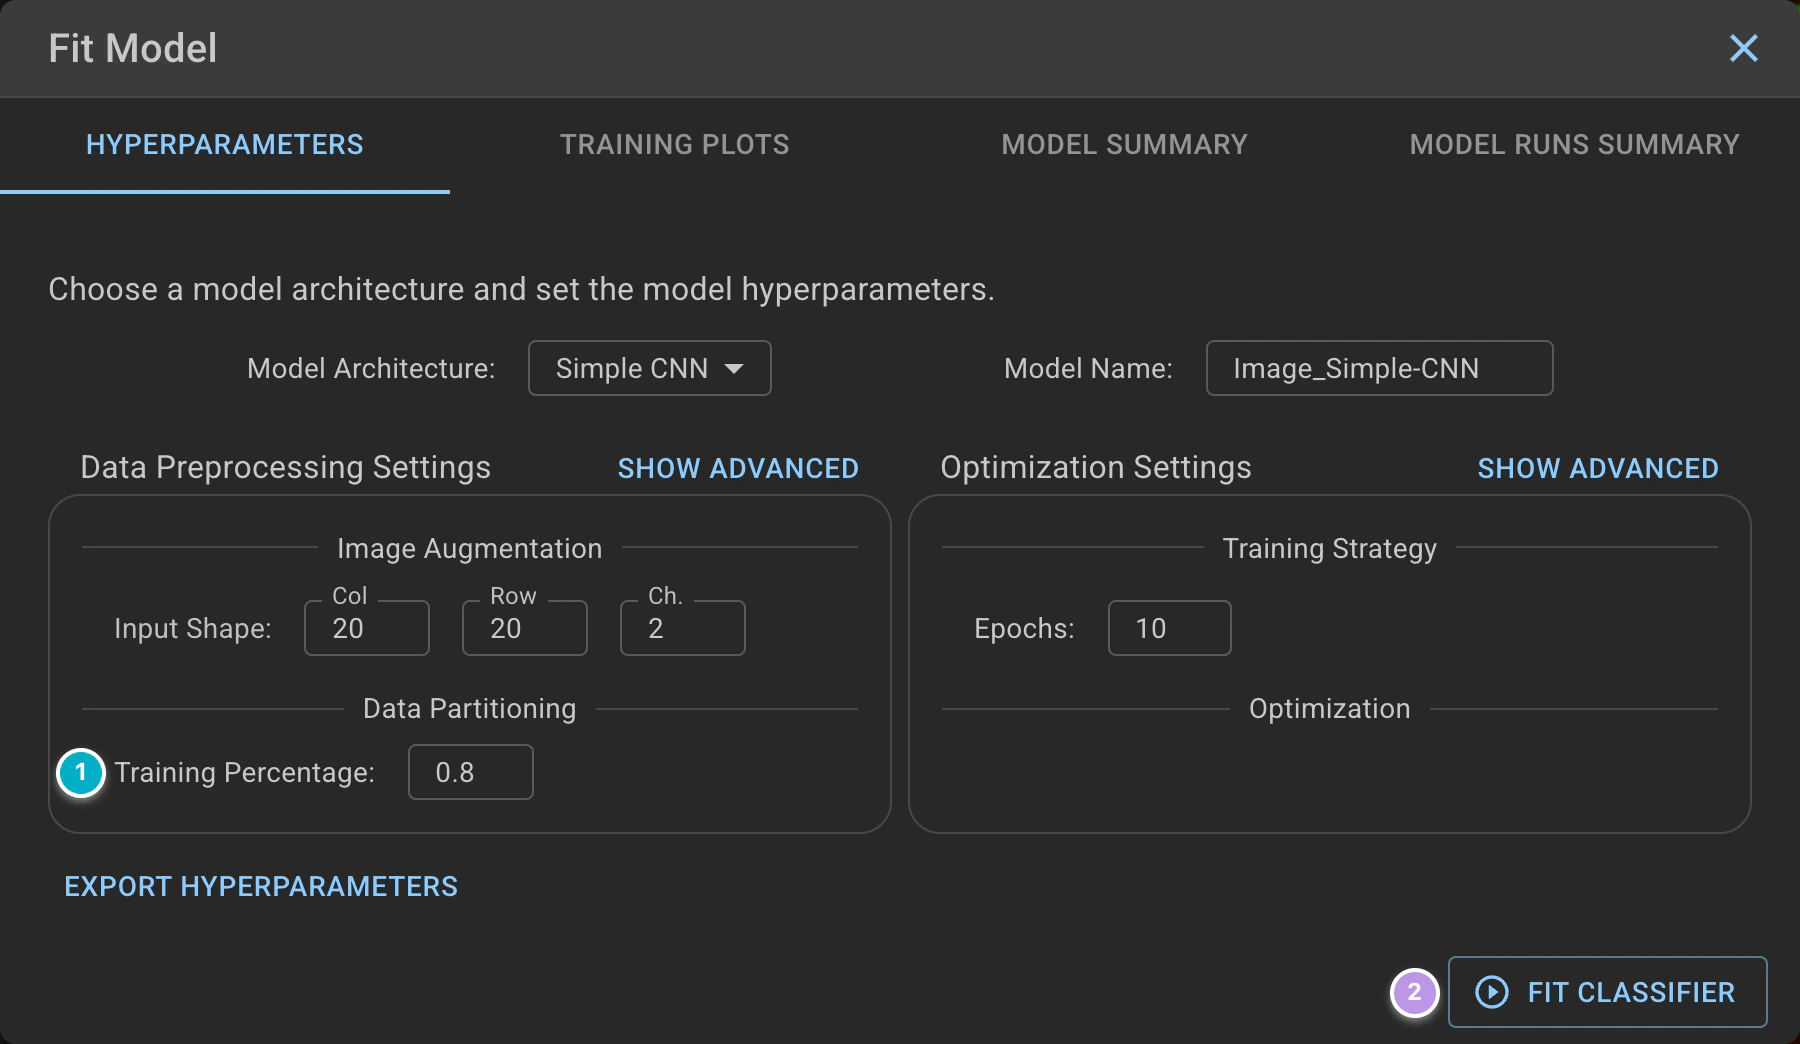
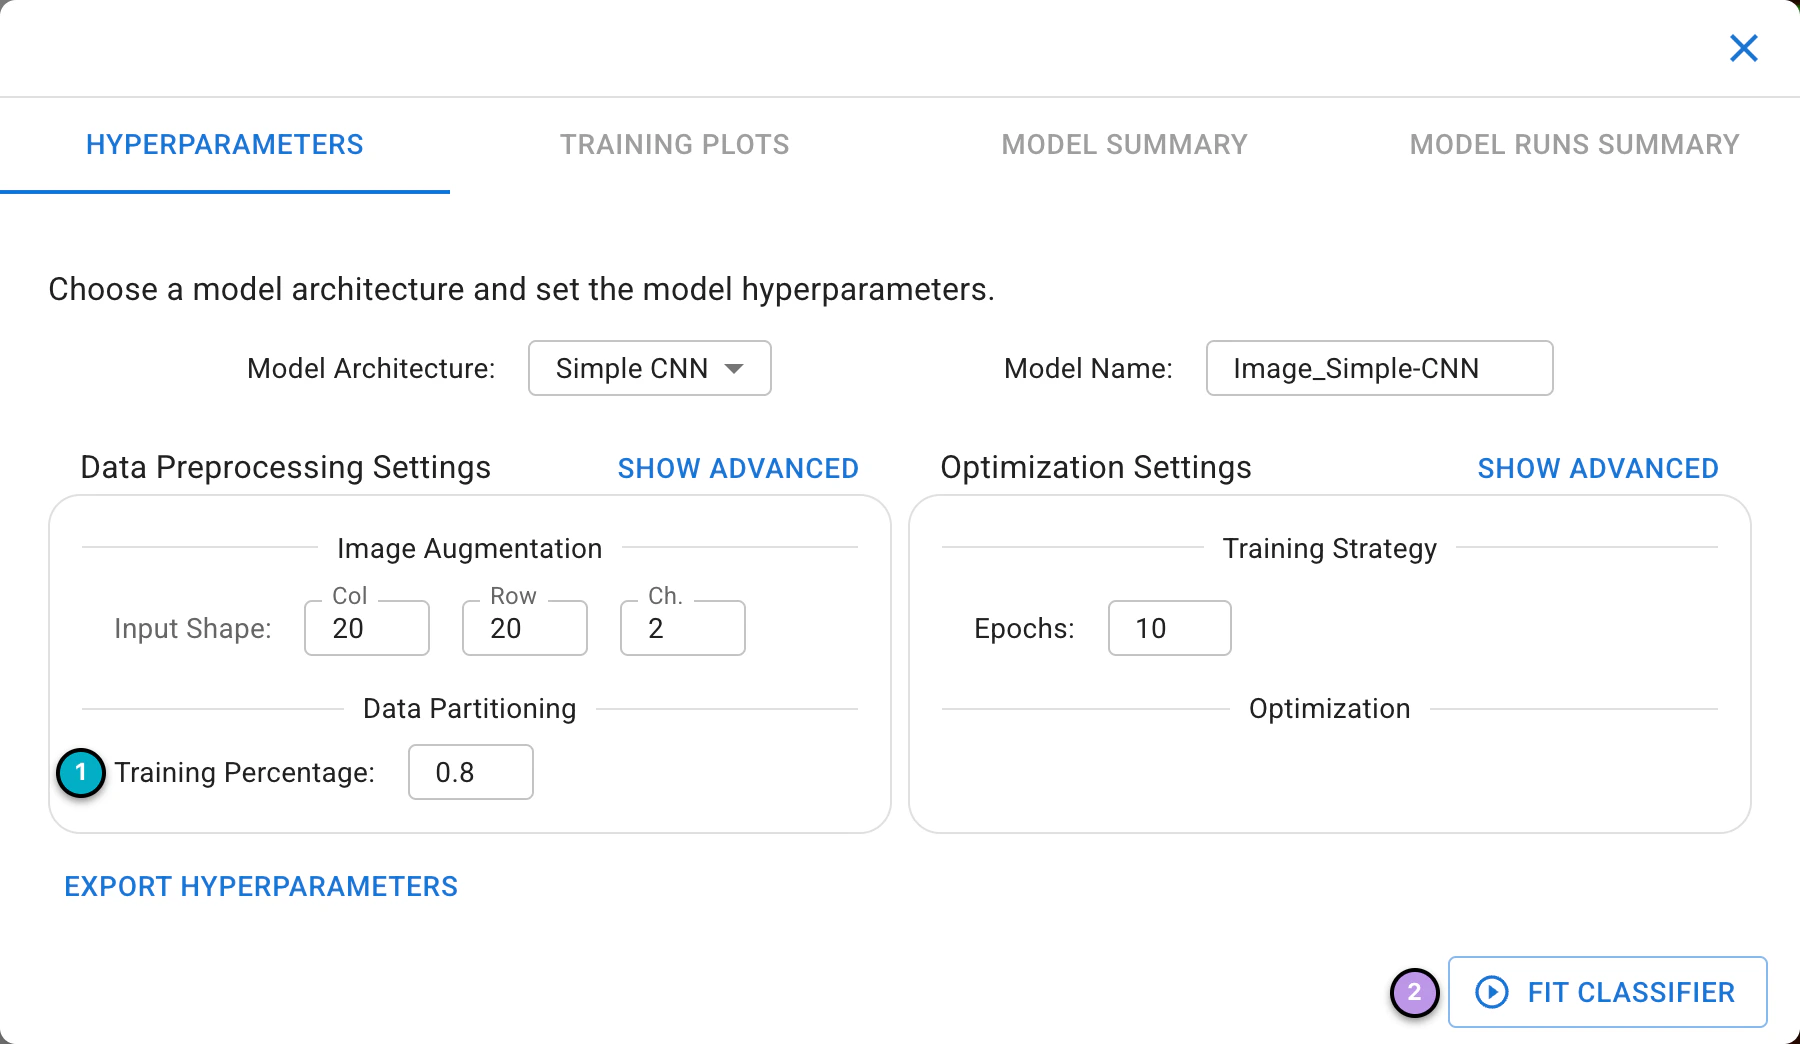
Explore classifier settings and then press Fit Classifier to begin training.
While Piximi trains the model, the dialog switches to the Training Plots tab, where two graphs update to show the accuracy and loss of the model over incrementing epochs.
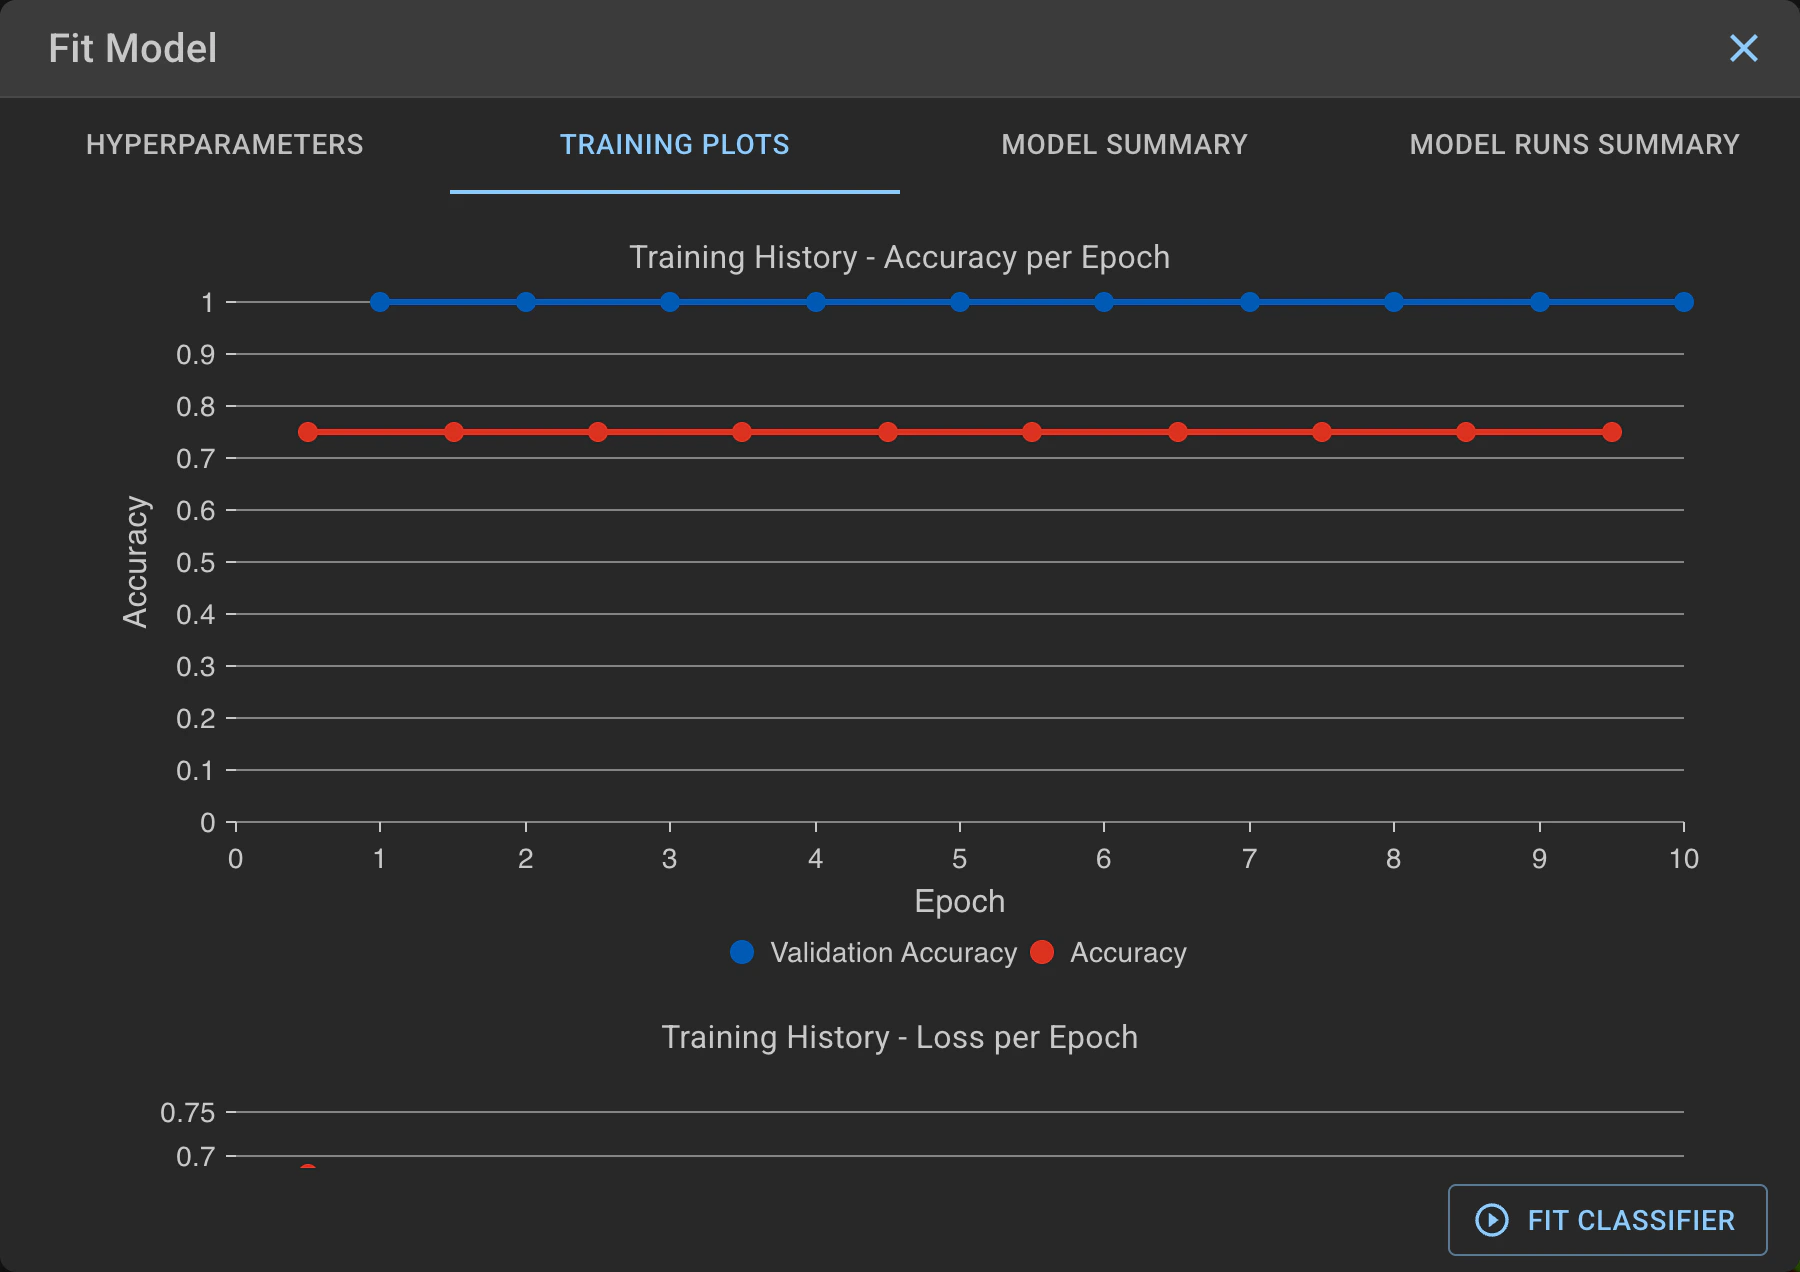
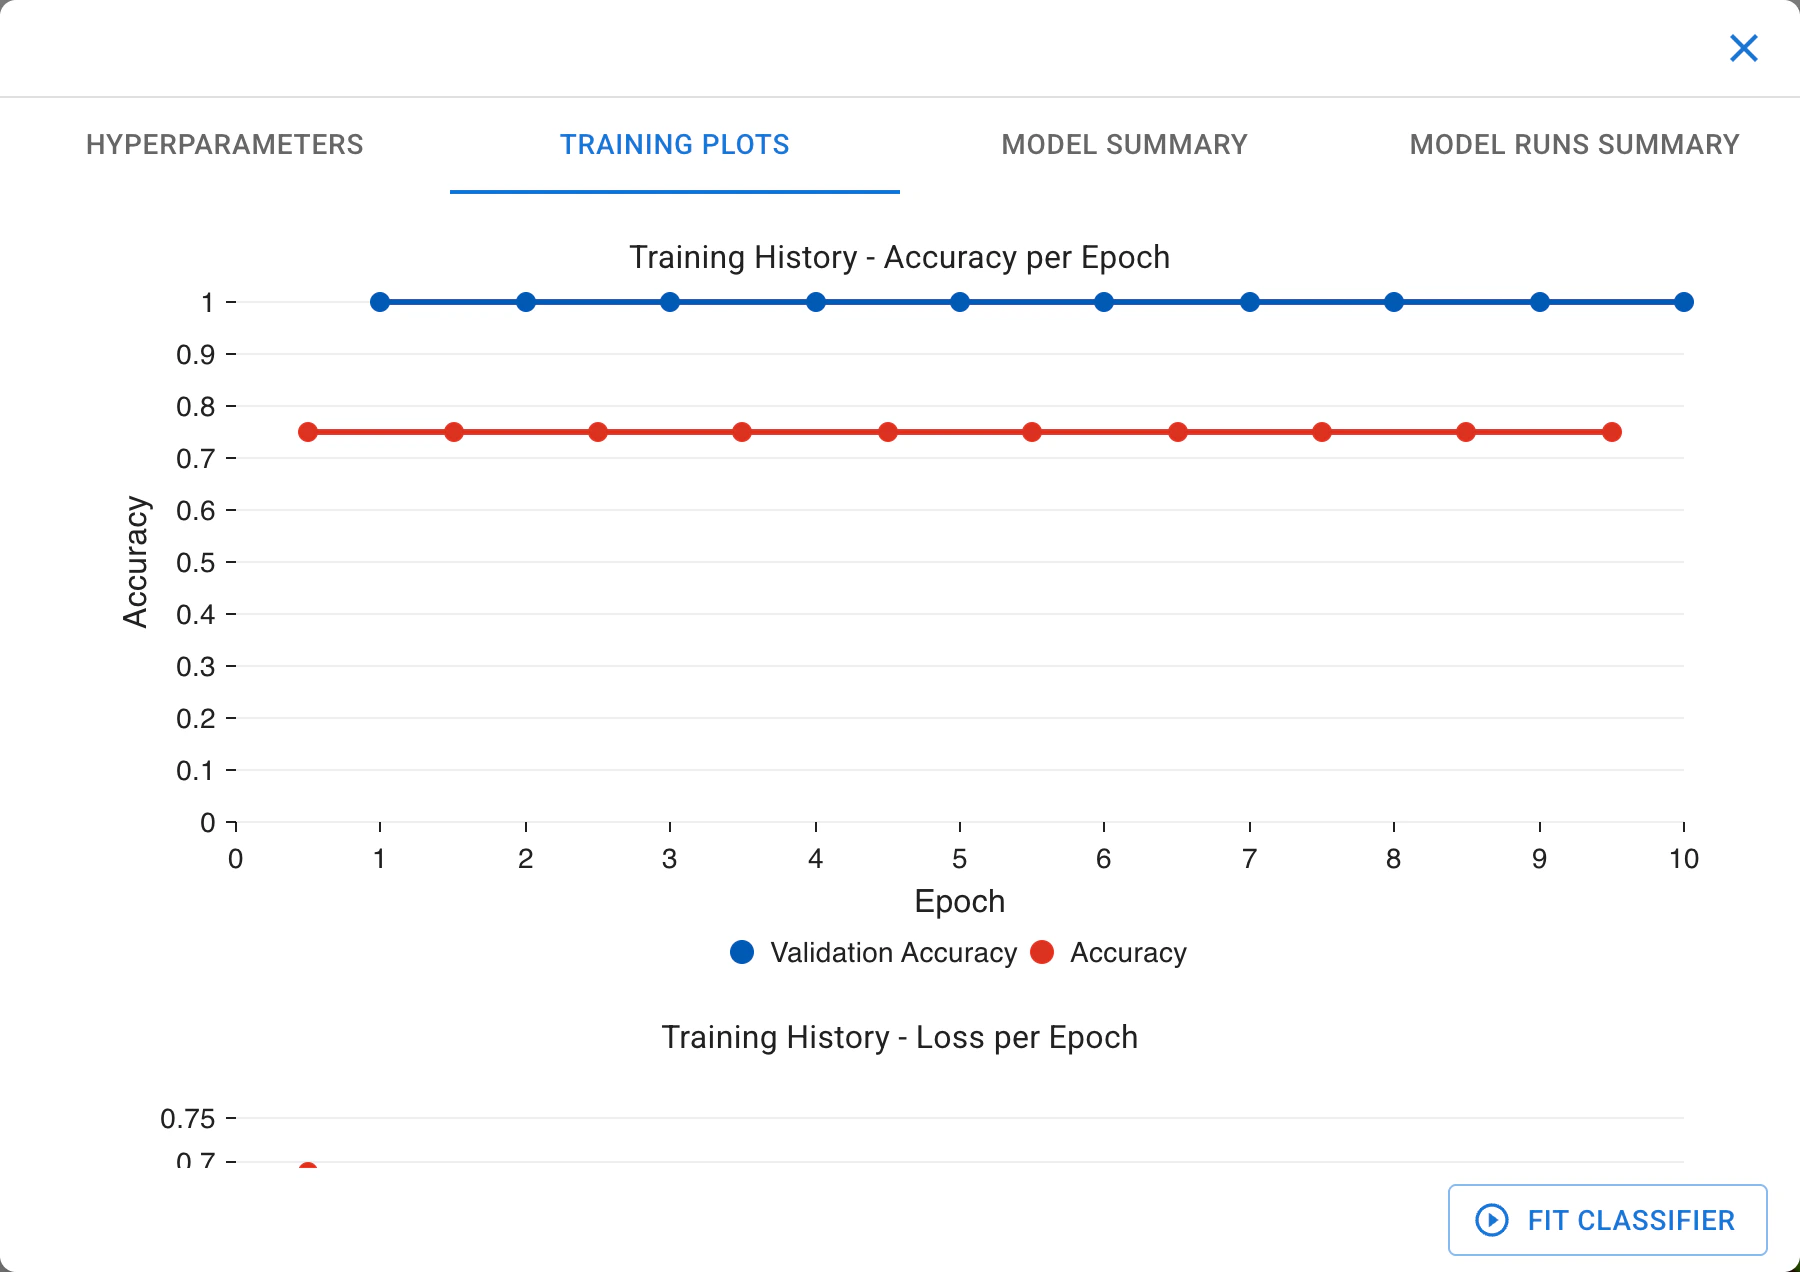
Training history of a classifier model for the U2OS example dataset.
What is an epoch?
An epoch is a measure of how many times the entire training subset is studied by the deep learning model. As the number of epochs increases, the model optimizes itself to improve classification performance.
However, increasing the number of epochs does not necessarily lead to better results and can instead result in overfitting. Click here to read more about overfitting (needs link).
Accuracy is a measure of how well the model has performed and is calculated as the ratio between the number of correct predictions and the total number of predictions. In this case, Accuracy refers to the accuracy of the model at correctly determining the class of images in the training subset of images.
Validation Accuracy is the accuracy when the model examines the validation subset of the data.
Validation accuracy vs accuracy
If you notice that your Validation accuracy value decreases as epochs increase but your Accuracy measurement continues to increase, this means that your model is fitting to the training subset of data better but your model is losing the ability to accurately predict on new data.
This is a result of overfitting as your model begins to pick up features within your image, such as noise, that are not relevant to classification. In essence, overfitting is when the model memorizes the answer to a specific question, rather than determining the answer from scratch itself.
Loss is another metric that is calculated on the training and validation subsets of data and are depicted as loss and validation loss, respectively. Loss represents a summation of the errors the model has made during classification.
The dialog also has a Model Summary tab, describing the layers of the trained model, and a Model Runs Summary tab, which compares the runs you have trained. You can now exit the Fit Model dialog by clicking the  in the top right of the dialog.


Exit the fit settings dialog.
4. Predict classes for unlabelled data#
Once your model has been trained you can click 
Evaluate to see in-depth metrics on how well the model performed, including a confusion matrix of the model’s predictions against the true categories.
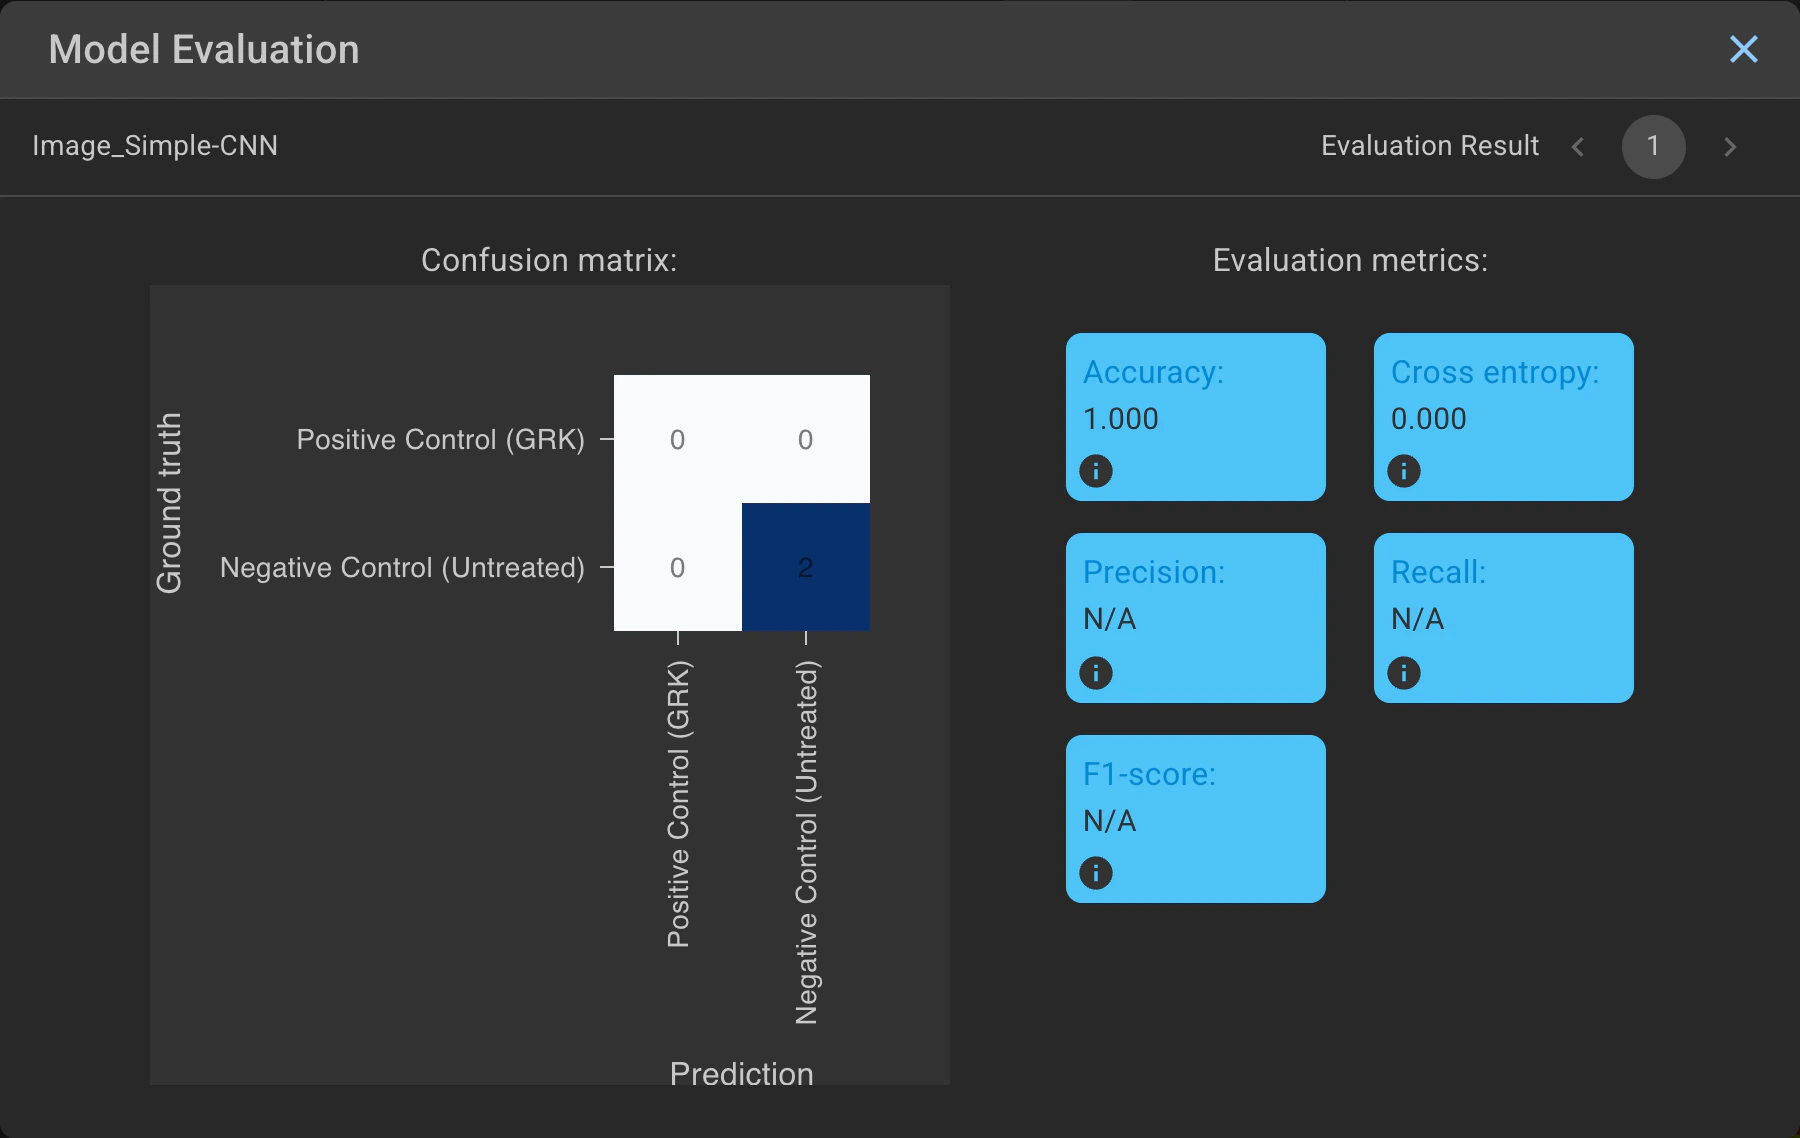
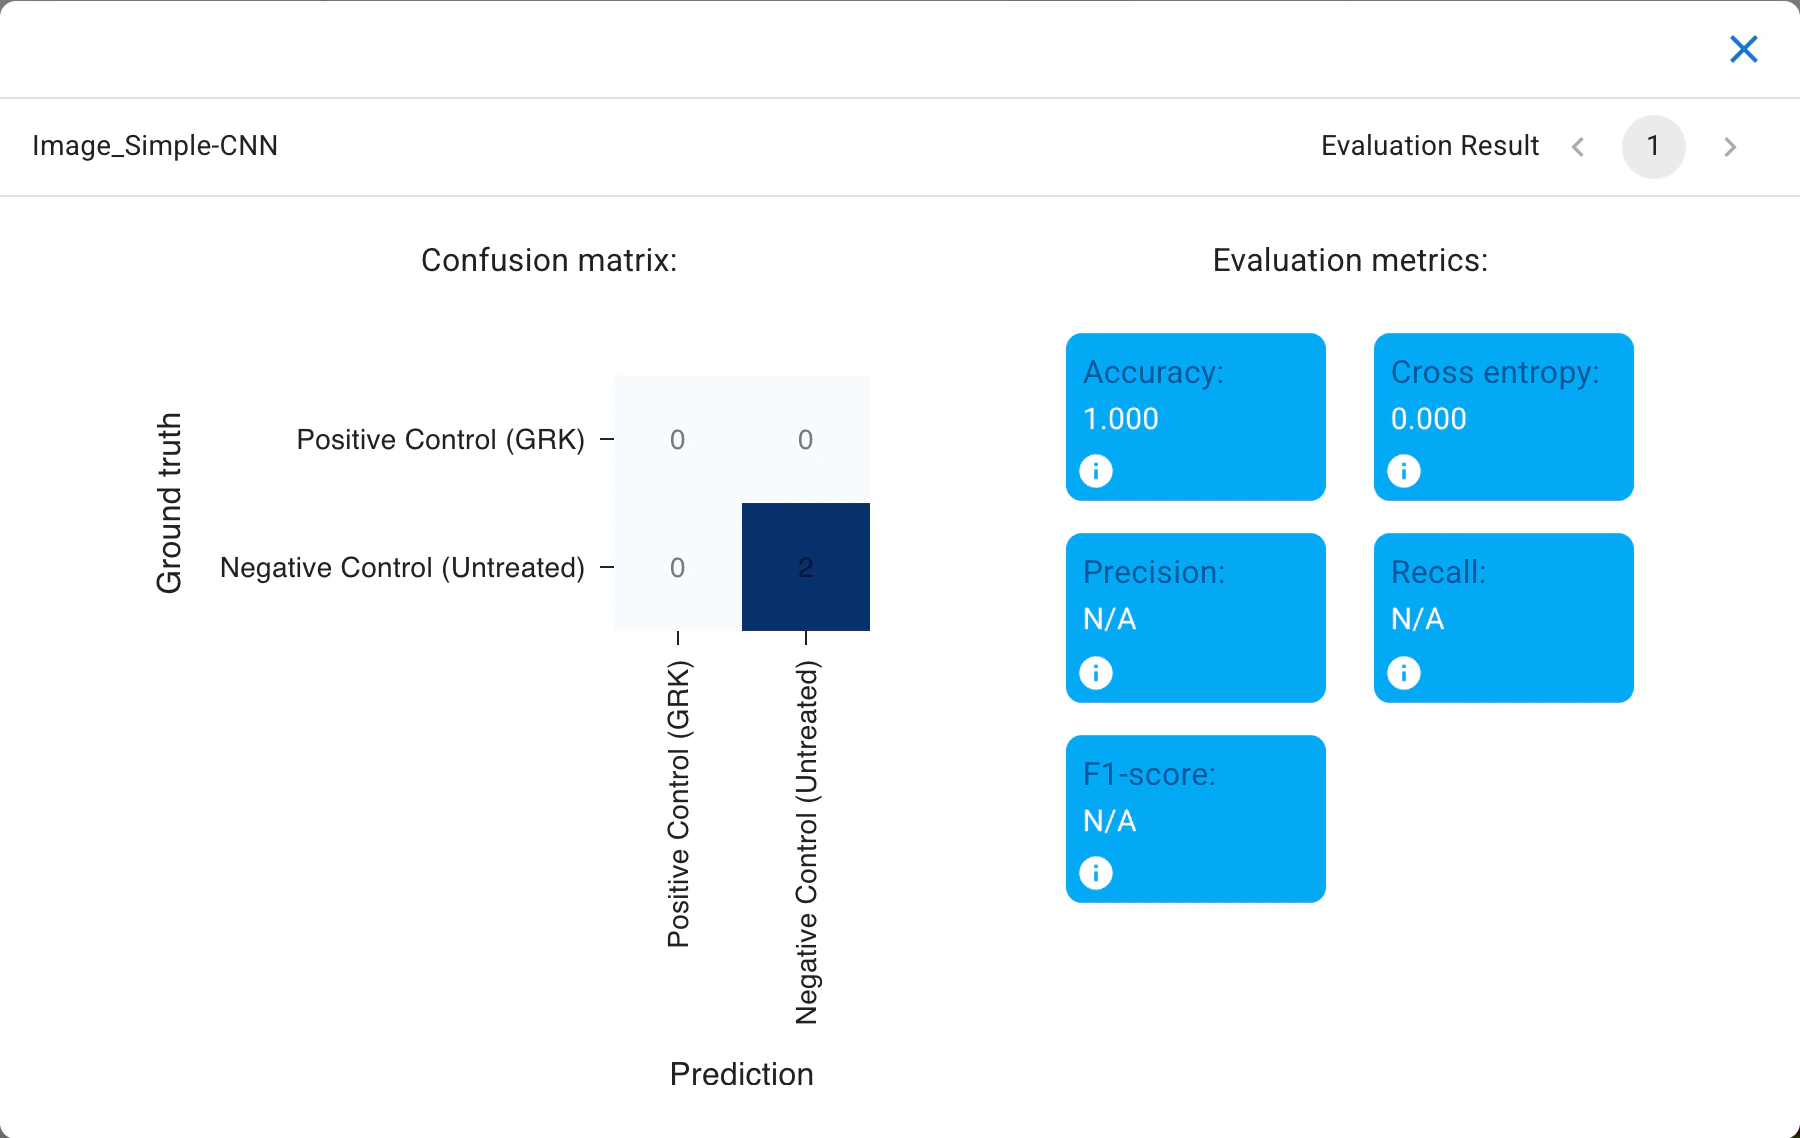
Evaluate the trained model.
You can then click 
Predict to run the trained model on the uncategorized data. Once an image has been classified you will see the  color on the image thumbnail update to that particular class. At this stage, you may inspect the predicted classes and either accept the predictions by clicking and holding
Accept Predictions (Hold) or reject them by clicking Clear Predictions. Depending on the performance of the model, categorizing further images based on the predictions and/or adjusting the Fit settings may be desired.
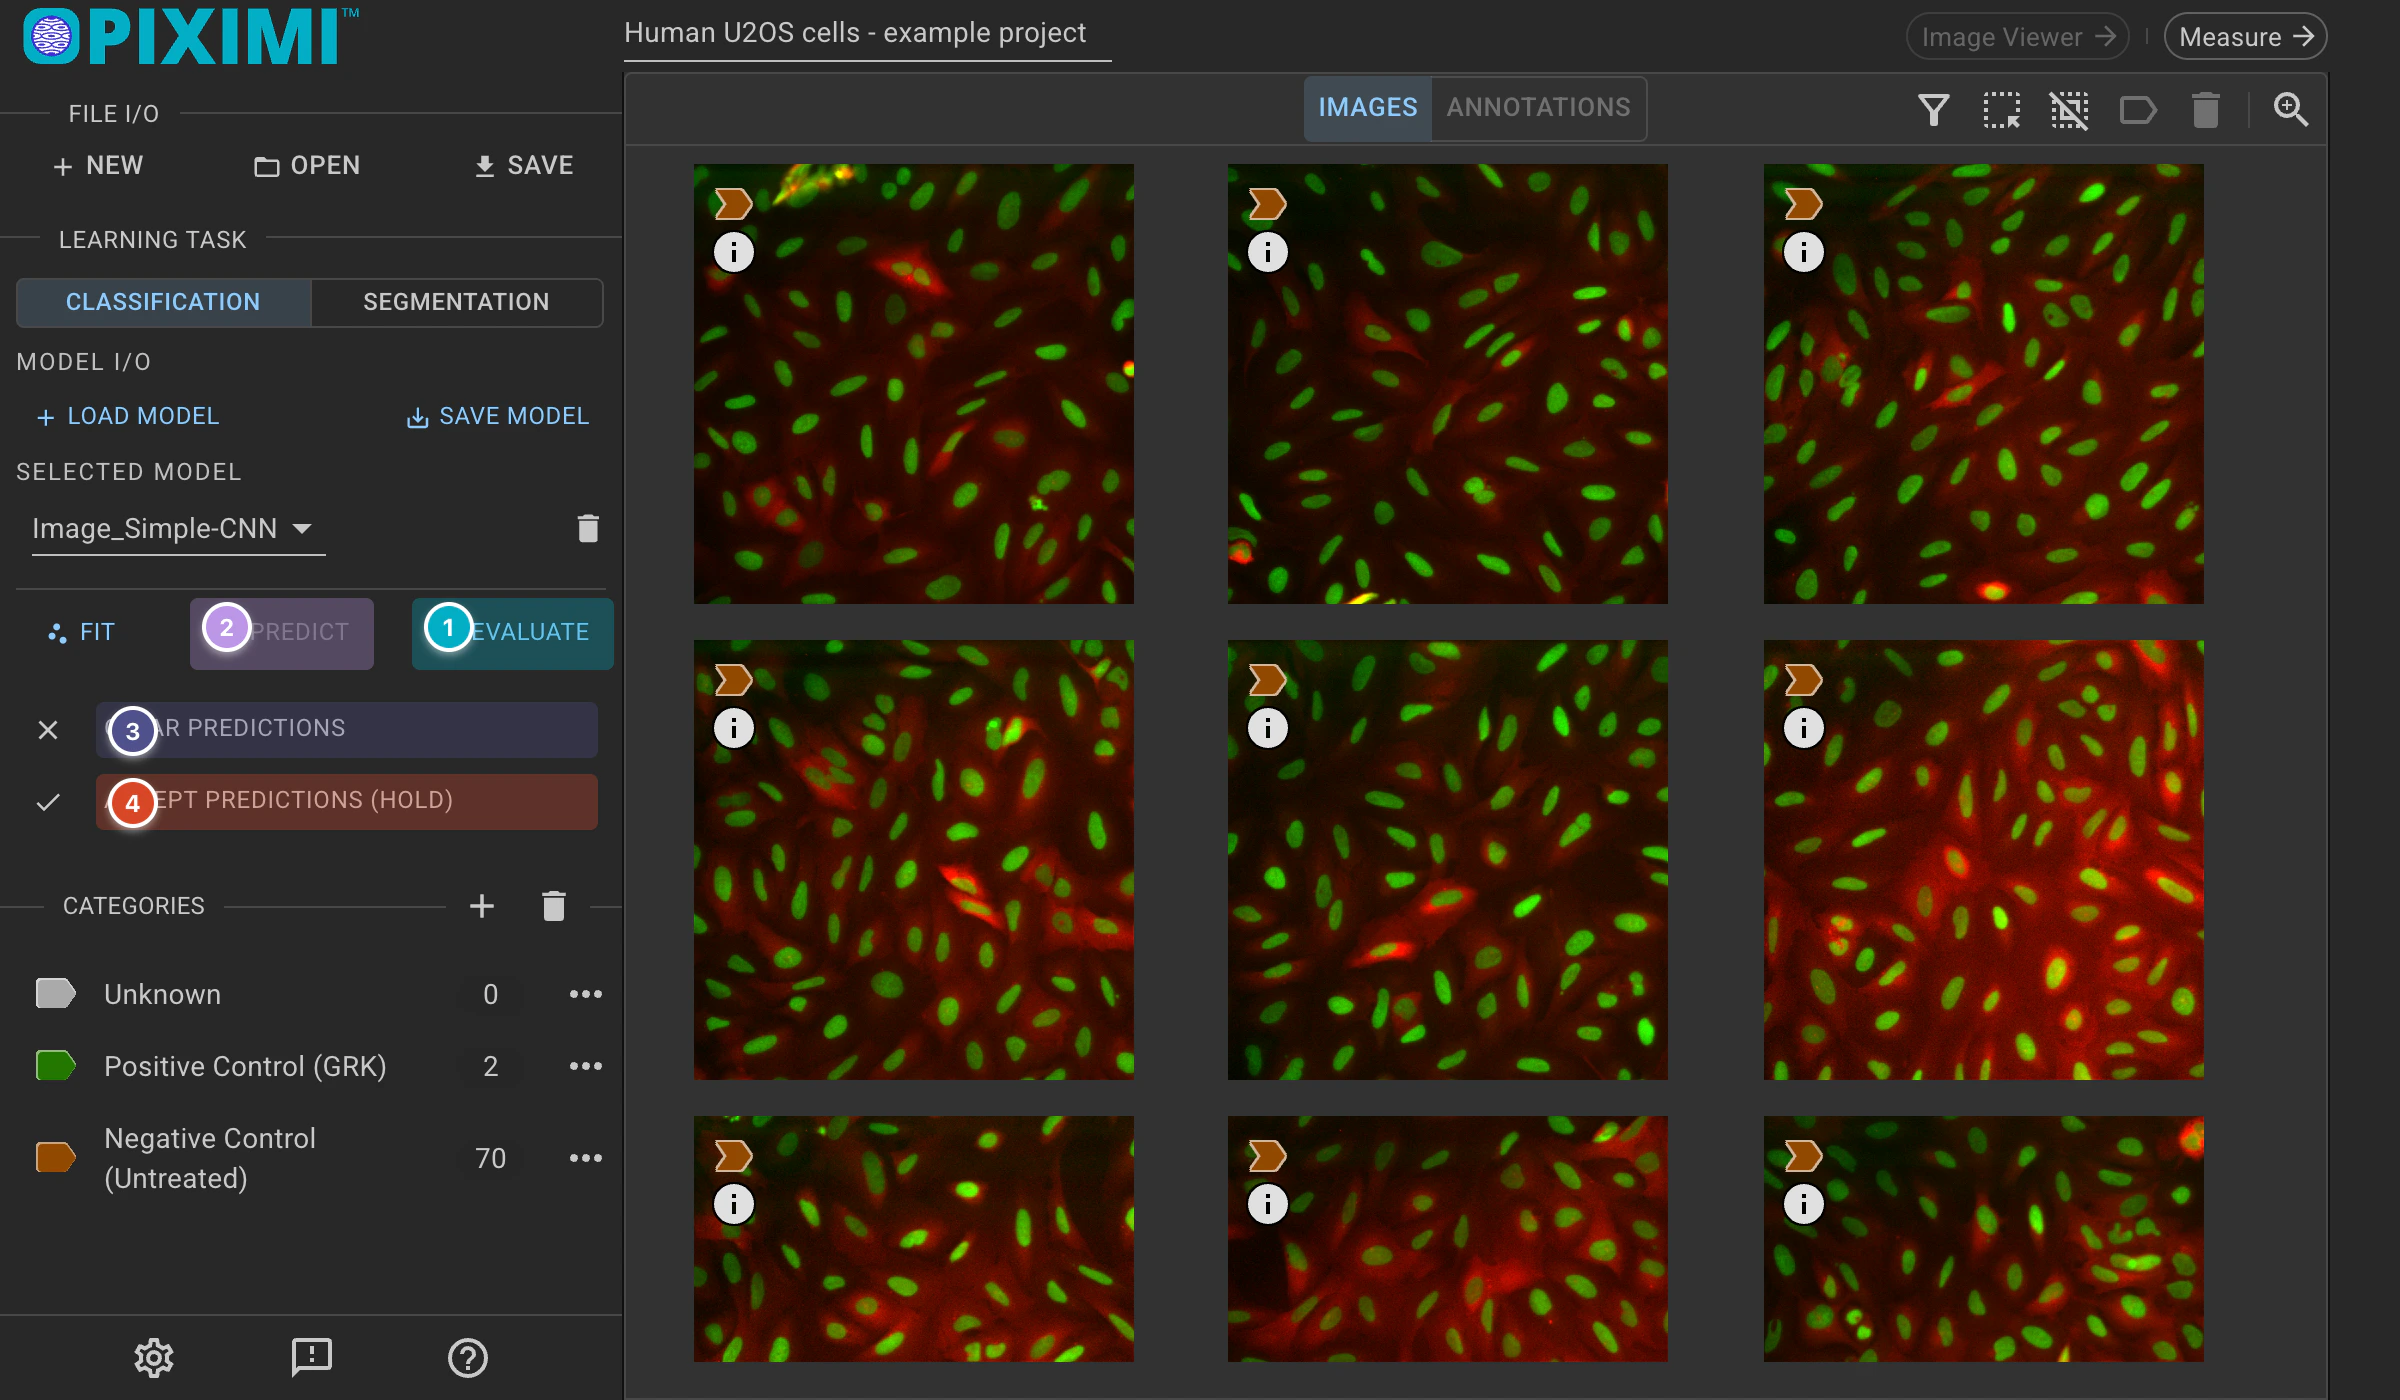
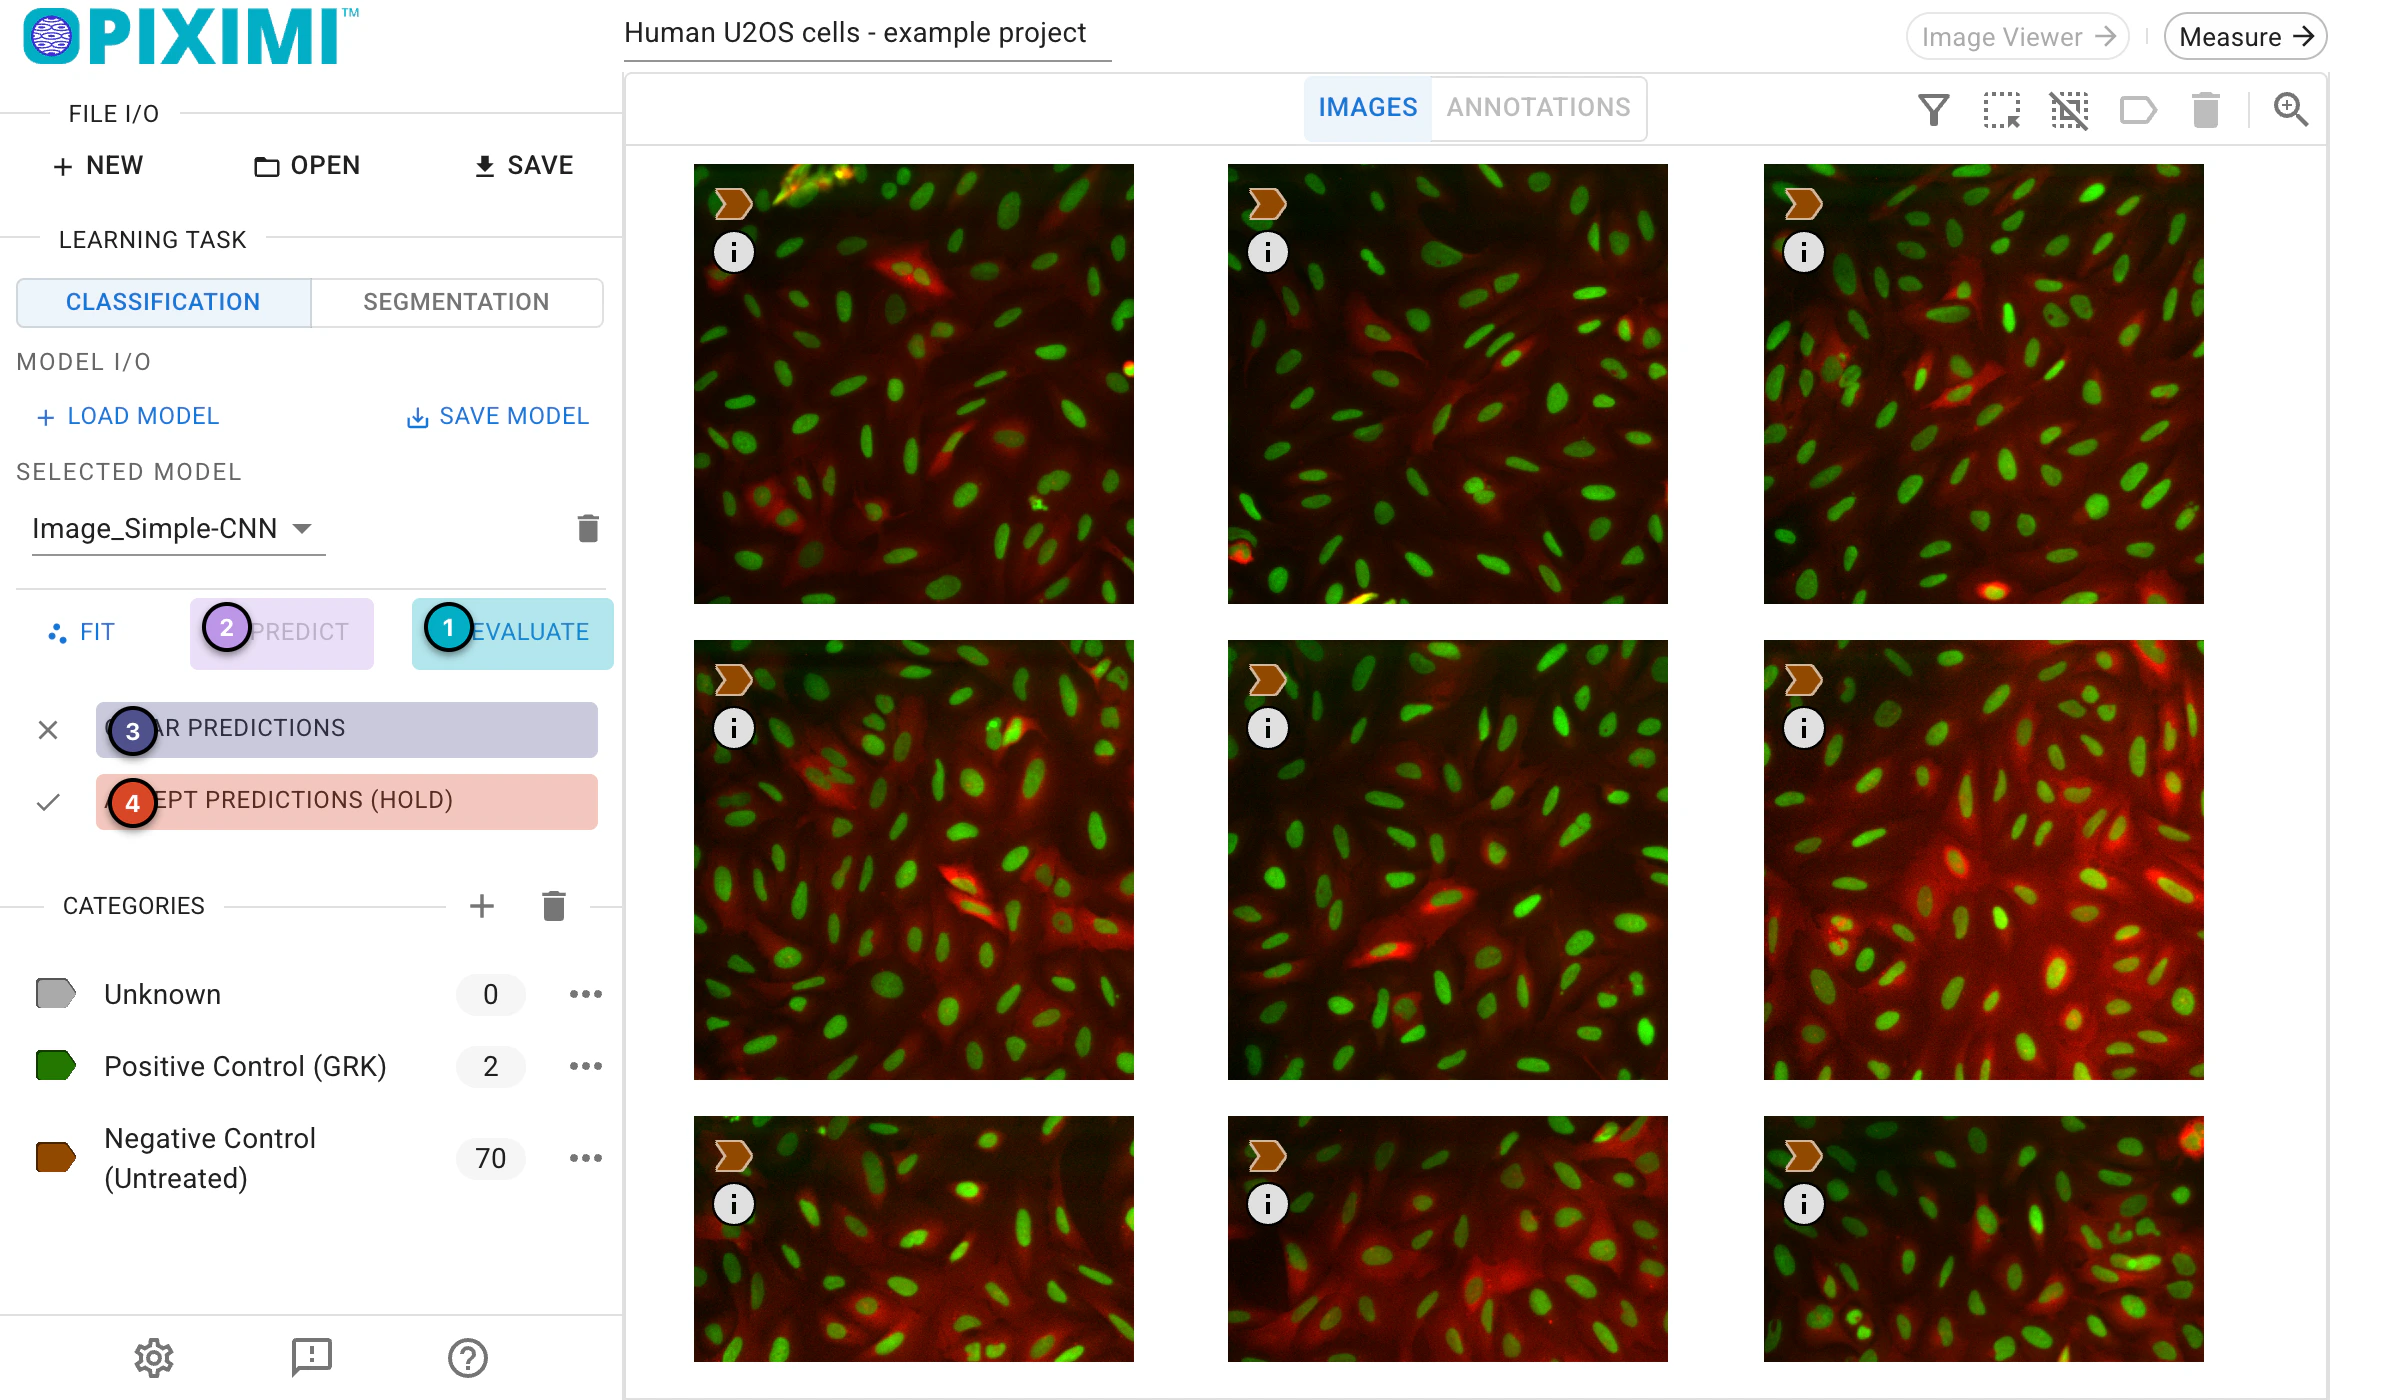
Predict the class of unknown images using your trained model.
Copyright
The BBBC016 images used here are licensed under a Creative Commons Attribution 3.0 Unported License by Ilya Ravkin.